Posts in Desserts
Vanilla Lavender Canelés

Hosting a Holiday Tea A Few Years Ago

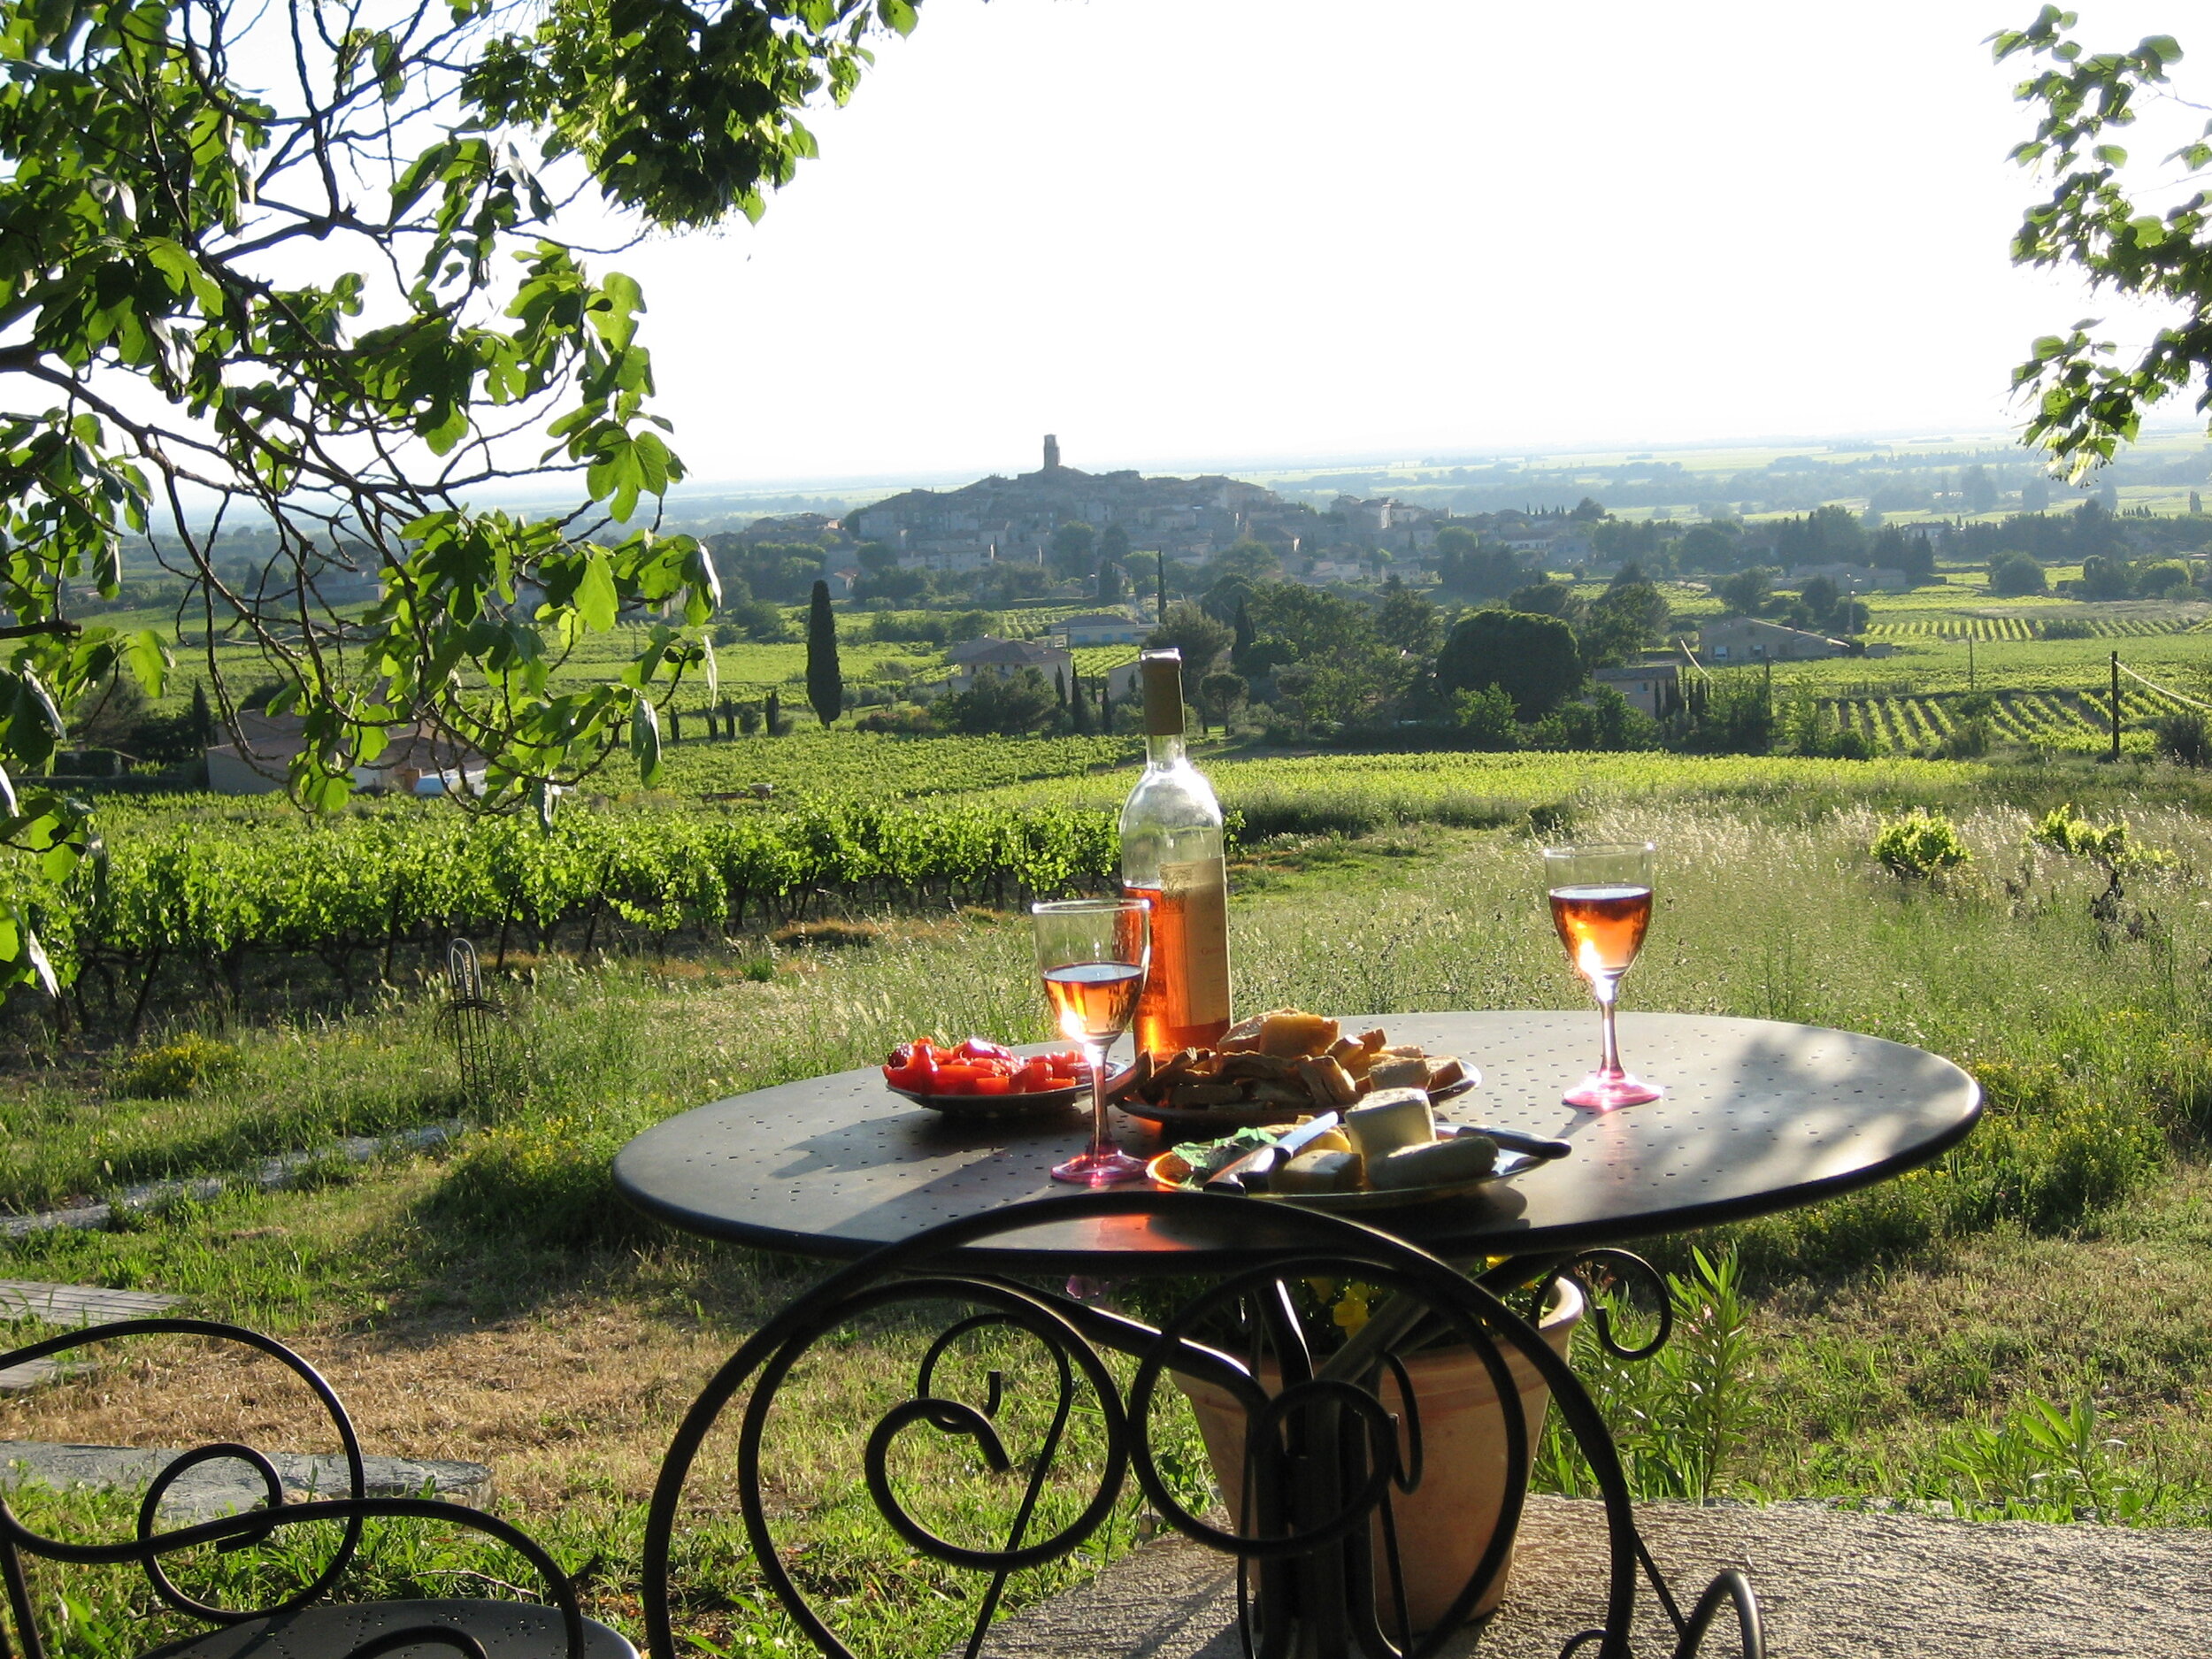
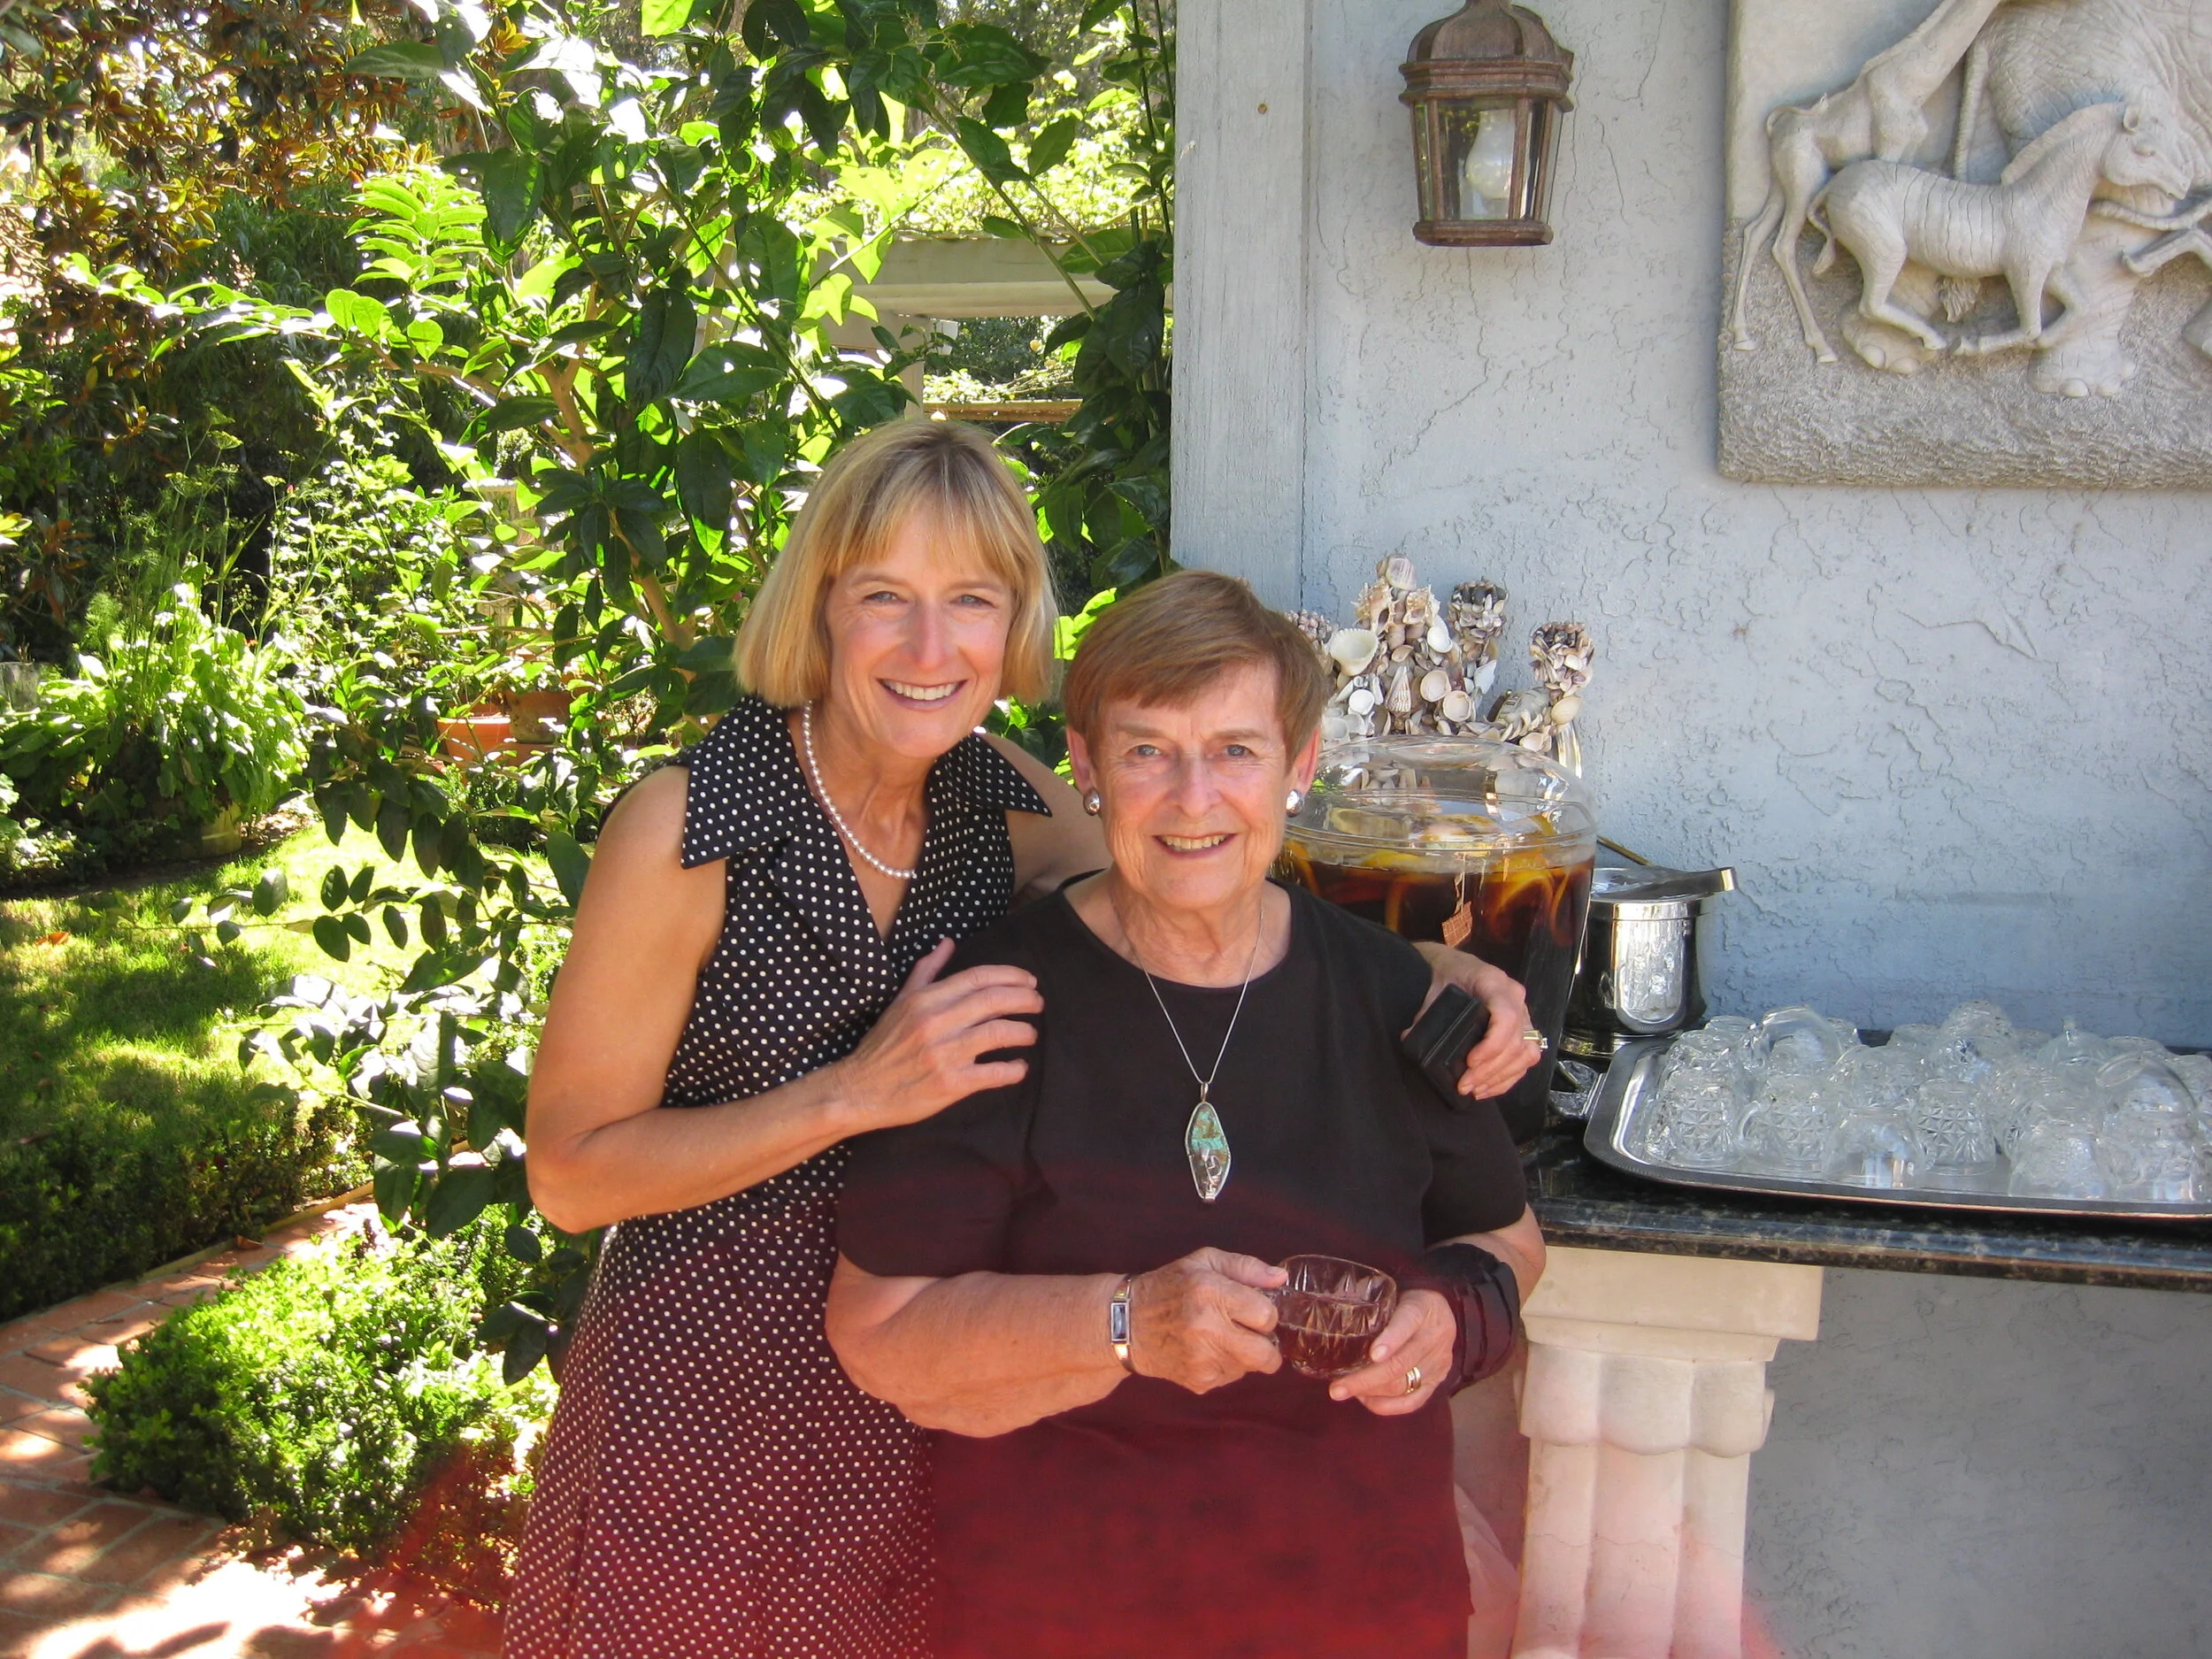
A few years ago I hosted a Holiday Tea for one of my dear garden clubs. The menu was based on 13 Desserts, a South French holiday tradition (Les treize desserts de Noël). One of the star desserts I made was Vanilla Lavender Canelés, one of the most elegant of French pastries and surprisingly easy to make. I remember how delicate these pastries tasted due to the steeping of milk, butter, vanilla bean, and culinary lavender. A delicious nod to Provence and the South France.

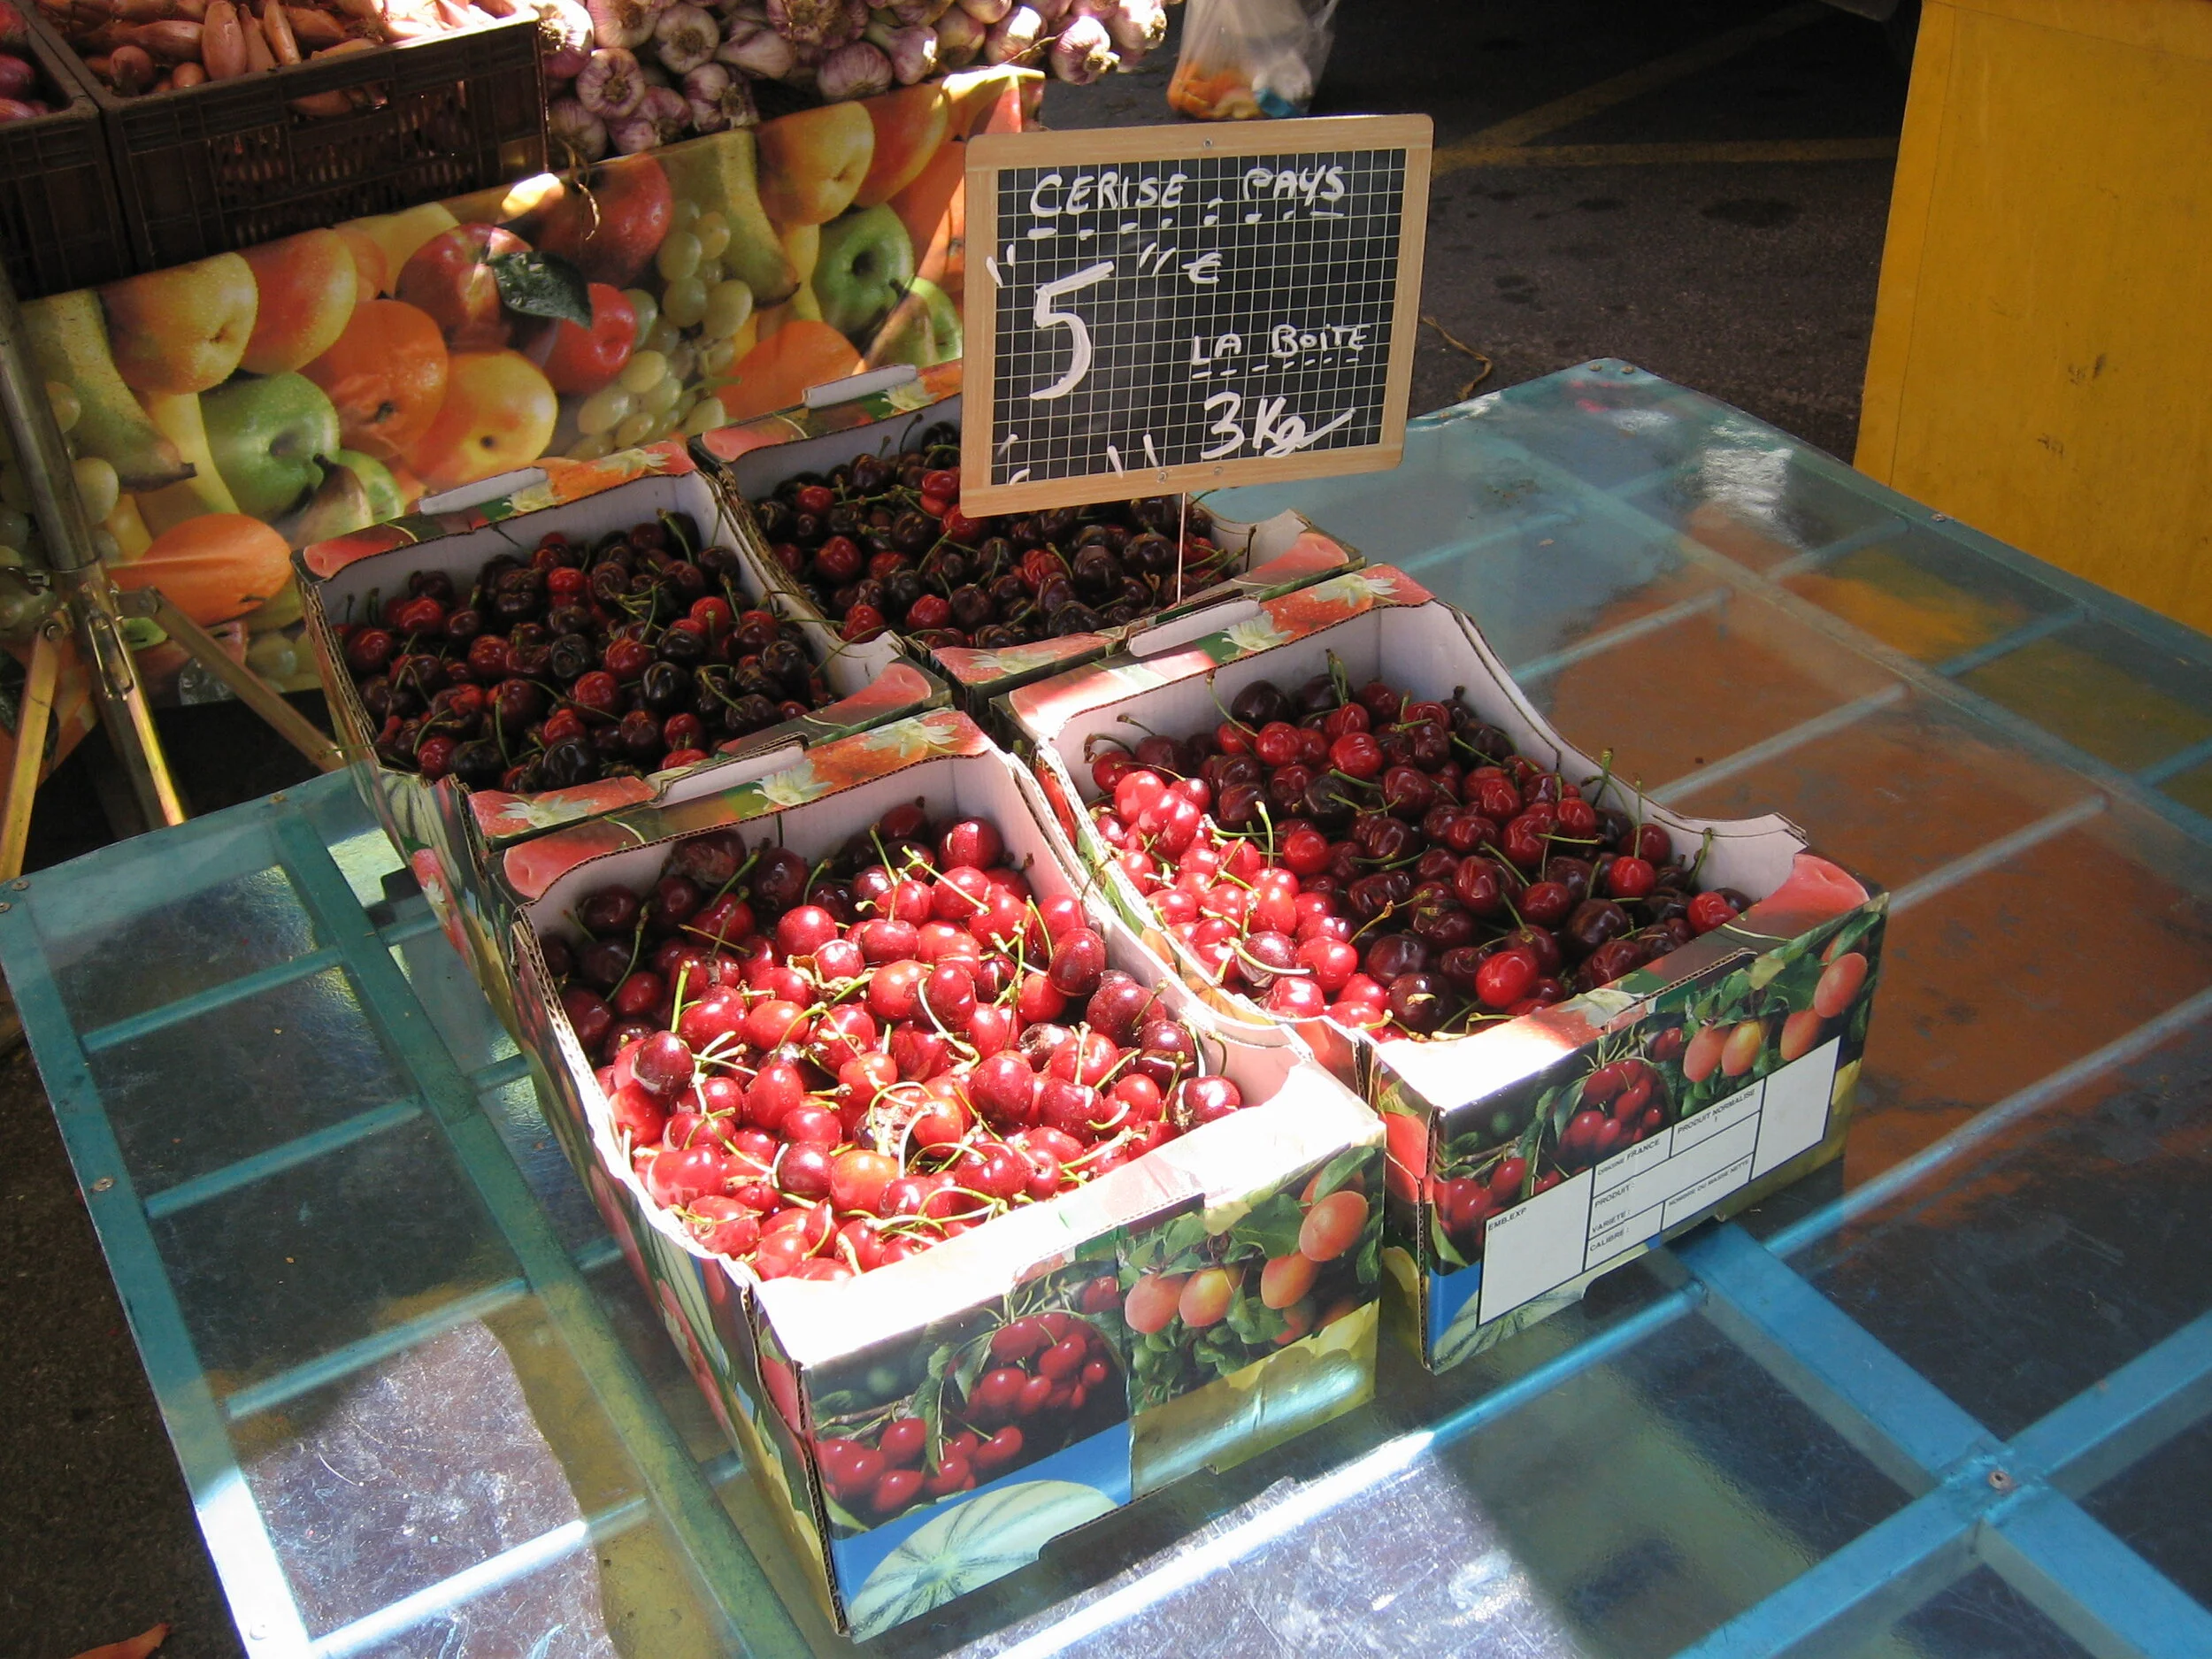
Please Note: You will need to have canelé molds, available on line, to make this recipe. It is important to use culinary lavender such as Provence lavender.


Vanilla Lavender Canelés

Recipe by Chelsea Zimmer

Lovingly Adapted from Sweet Paul magazine, Winter 2013


Ingredients:

 2 cups milk

4 tablespoons unsalted butter, plus more for molds

1 vanilla bean, scraped

1 Tbsp dried culinary lavender

½ cup, plus 1 Tbsp flour

2 cups sugar

¼ tsp salt

2 eggs

2 egg yolks

1 Tbsp whiskey

2 cannelé molds (twelve molds to a pan)


Directions:

In a medium pot, bring milk, butter, vanilla bean, and lavender to boil.  Remove from the heat and let steep for 10 minutes.  Meanwhile, in a large bowl whisk the flour, sugar, salt, and eggs.  Strain the warm milk mixture, slowly whisking it into the flour mixture.  Stir in the whiskey.  Let this cool in the fridge until chilled, about an hour. If you want to speed up the chilling process, set your bowl over an ice bath and stir occasionally for 20 minutes.


Preheat the oven to 500 degrees F.  Place 2 cannelé molds on a large baking sheet and lightly brush them with melted butter. Pour the batter 2/3 of the way up each mold. Bake for 5 minutes.  Lower the oven to 375 degrees F. and continue baking for 1 hour until your canelés are golden brown. Turn out onto wire racks while hot and cool to room temperature. Makes 30.

 
Copper Canelé Molds

There Are Various Canelé Molds—Even Copper

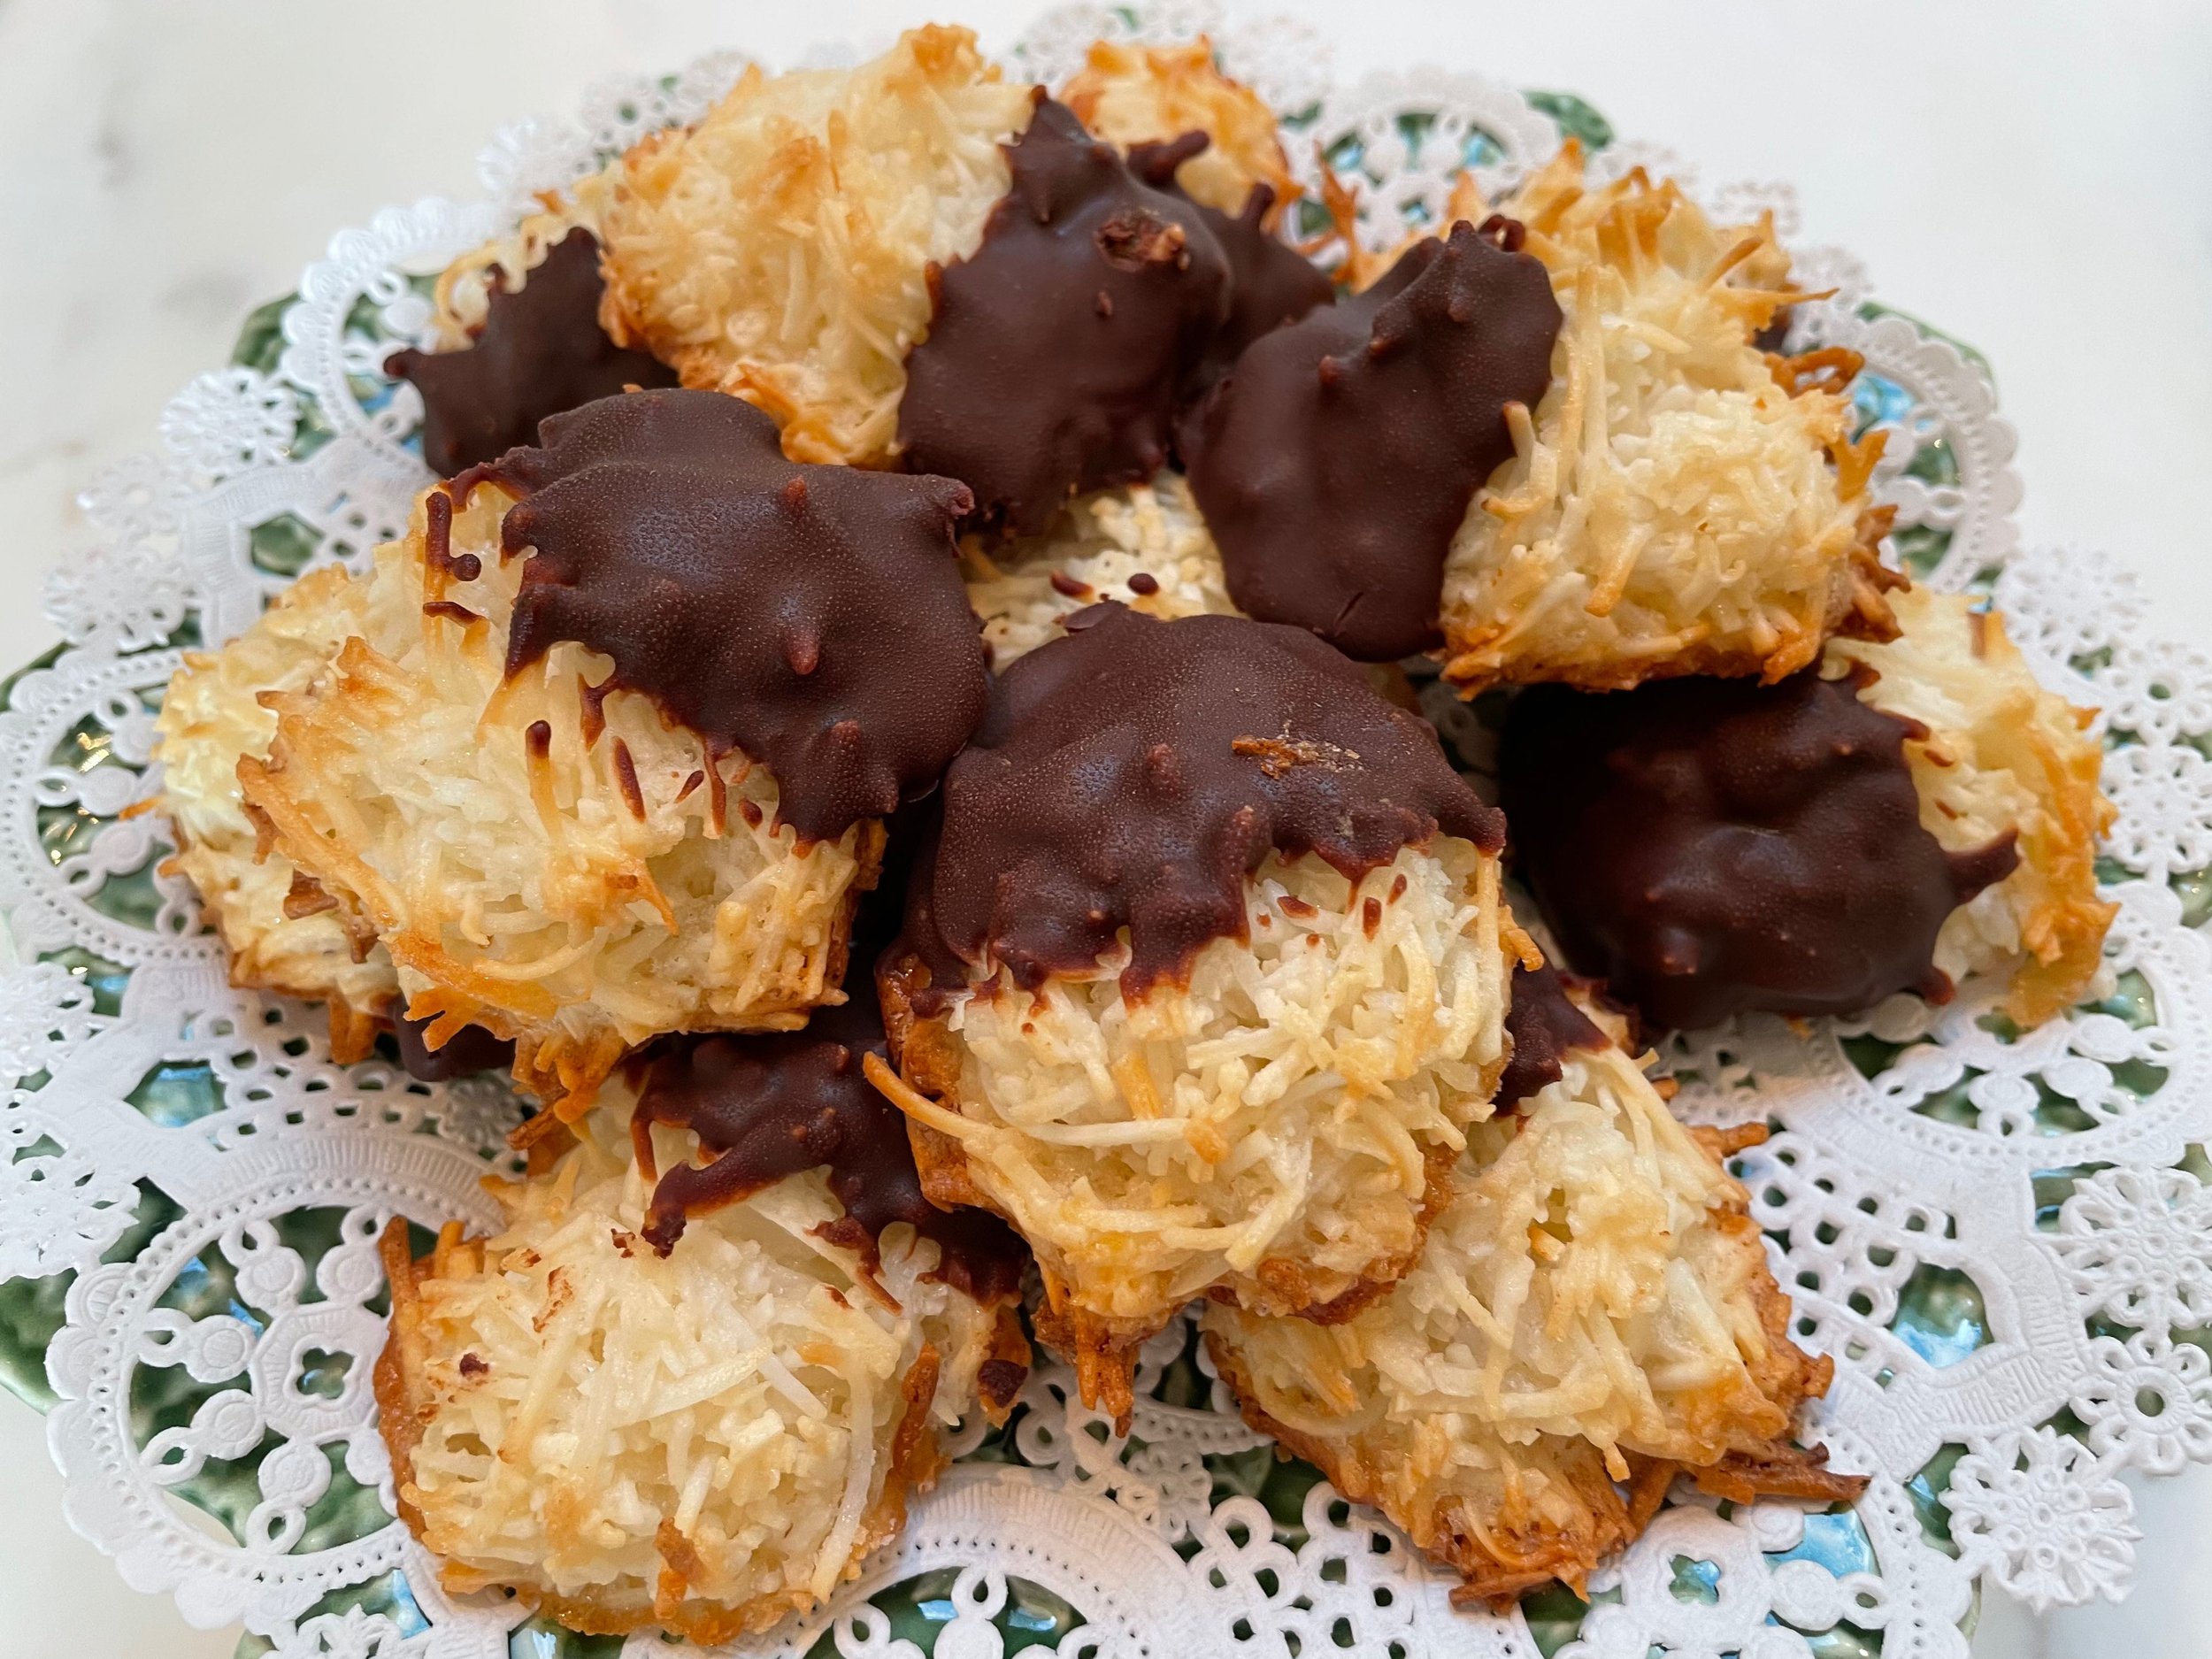
The holidays are a great time to bake different specialty desserts and cookies from other countries besides French Canelés, such as Austria’s Linzters, Italy’s Biscotti, and Mexican Wedding Cakes. Be adventurous, they just might become a new tradition for your family.

Bon Appétit et Bon Weekend….Bonnie

Easy Breezy Macaroons
Golden Macaroons Dipped in Chocolate, French Country Living

Golden Macaroons Dipped in Chocolate Setting

This is another great recipe I have gotten from my Mom. She saw it originally in the April 2001, Better Homes and Gardens magazine. It is not a French Macaron recipe. It is a Golden Macaroon recipe with an option to dip in semisweet chocolate after baking. Not quite a cookie, and not quite a candy, it is a delight for coconut lovers!

The secret to this recipe is using two kinds of coconut — a regular flaked, sweetened coconut and an unsweetened, finely shredded coconut, held together with a touch of honey that creates a golden color when baked. This recipe yields 3 to 4 dozen macaroon, depending on your drop batter size.


Golden Macaroons

Lovingly Adapted from Better Homes and Gardens

Prep/Chill: 35 minutes Bake: 17 minutes

Ingredients:

2-1/2 cups flaked sweetened coconut (about 7 ounces)

2 cups unsweetened finely shredded coconut

1 cup sugar

3 Tablespoons all-purpose flour

1/4 teaspoon salt

4 egg whites

1 Tablespoon honey

1 teaspoon vanilla


Directions:

1) In a large bowl combine flaked and shredded coconut until evenly mixed. Flaked coconut should be broken into separate flakes and with very small clumps present.

2) In a medium mixing bowl combine sugar, flour, and salt. Add the egg whites, honey, and vanilla. Whisk rapidly until smooth. Pour sugar and egg white mixture over coconut mixture. Stir first with a wooden spoon, then use your hands and continue to blend until evenly mixed. Cover with plastic wrap; chill for 30 minutes.

3) Preheat oven to 300 degrees F. Line a large cookie sheet with baking parchment paper. Drop rounded tablespoons of macaroon batter onto the cookie sheet about 2” apart. (I actually use a small ice cream scoop for consistency.) You will probably need a second baking sheet, or fill your original a second time after baking your first macaroons.

4) Gently pinch mounds of macaroon together before baking. Bake for 17 to 19 minutes, or until golden brown. Remove from oven. Let cool on a cooling rack.

5) If you are interested in using dipping chocolate for your macaroons: 1) in a small saucepan, heat 3/4 cup heavy cream to near boiling; remove from heat. Add 6 ounces of your favorite chopped semisweet chocolate (do not use chocolate chips). Let stand for 5 minutes, then whisk until smooth. Cool completely, or to your desired consistency for dipping. Dip one side of your cooled macaroon into your chocolate mixture, and return it back to the parchment paper to further cool and set. Enjoy!

Chocolate Dipped Macaroons, French Country Living

Chocolate Dipped Macaroons Ready to Serve

Bon Appétit et Bon Weekend…Bonnie


Hummingbird Cake Cult Following
Hummingbird Cake and Hydrangeas, French Country Living

Hummingbird Cake and Hydrangeas, A Dreamy Combo

Birthdays and special occasions are usually celebrated with Hummingbird Cake here at Domaine de Manion. There is something special about the combination of sweet banana, pineapple, and cream cheese in this elegant cake recipe that lives on and on. A Certain Mrs. L. H. Wiggins submitted in 1978, the original Hummingbird Cake recipe to Southern Living, and the rest is history. It has become one of Southern Living’s most popular cake recipes of all time, more than forty years later. It really is a crowd pleaser, and lives up to the occasion it is served at.

I have written about and shared my Hummingbird Cake recipe in a post back in February 2021 (see below). Recently I saw a link from Southern Living on 8 Fresh Ways with Hummingbird Cake That Can’t Get Any Sweeter, and thought to myself, there is a real cult following going on. Think Hummingbird Bundt Cake, Hummingbird Pancakes, the Original Hummingbird Cake Recipe, Lightened Hummingbird Cake, Hummingbird Snack Cake with Brown Butter, and more.

My version of Hummingbird Cake recipe below is not too far off from the original, as best as I can see. It makes a very nice 8” three layer or 9” two layer, where in the original recipe, ingredient amounts are larger to make a 9” three layer cake. The original recipe also calls for not draining your crushed pineapple, and mine does. I suggest you drain your crushed pineapple, as the cake is still very, very moist. I also often forgo the nuts as top and side garnish.


Hummingbird Cake


Ingredients:

1-1/2 cups sugar

1-1/2 cups all-purpose flour

1 tsp. baking soda

¼ tsp. salt

¼ tsp. cinnamon

1-8oz. can crushed pineapple—juice packed, drained

½ cup canola oil

4 eggs slightly beaten

1 tsp. vanilla

1 cup chopped bananas

1 cup chunky-style applesauce

2/3 cup chopped walnuts, toasted


Directions:

Grease and lightly flour two 9” round cake pans. Place a circular parchment paper fitting each pan on top of greased and floured cake pans for ease of removing baked cakes. Set pans aside.


In a large mixing bowl, combine the sugar, flour, baking soda, salt, and cinnamon. Add drained pineapple, oil, eggs, and vanilla. Beat with an electric mixer until combined, scraping the sides of the bowl occasionally. Stir in bananas, applesauce, and walnuts. Divide batter between two prepared pans.


Bake in 350 degree F. oven about 35 minutes, or until the top springs back when lightly touched. Cool cake layers on wire racks for 10 minutes. Remove from pans, cool thoroughly on wire racks. Prepare the Cream Cheese Frosting and frost cake.


Cream Cheese Frosting


In a large mixing bowl, beat one 8oz. package cream cheese (softened), ½ cup butter (softened), and 1 tsp. vanilla with an electric mixer until light and fluffy. Gradually add 5 cups of sifted powdered sugar, beating until smooth and spread consistency.


Ice cake in one direction, trying not to get cake crumbs in the icing. Ice top of first layer of cake, add second cake layer, finish icing cake top and sides.


Press 1-1/2 cups finely chopped pecans, toasted into the sides of the cake. Sprinkle 2 tablespoons of finely chopped pecans on top of the cake. (I usually just cover the top of cake with toasted pecans, and not the sides.) Enjoy!!


Hummingbird Cake Great Down to the Last Piece, French Country Living

Great Down to the Last Piece

Past Related Posts:
Elegant Hummingbird Cake

Love Is A Four Letter Word And So Is Cake

Bon Appétit et Bon Weekend…Bonnie

Love is a Four Letter Word, and So is Cake

Beatty’s Chocolate Cake

Show your loved ones how much you care and love them, by baking this treat for Valentine’s Day, Beatty’s Chocolate Cake from Ina Garten’s Barefoot Contessa at Home (2006) cookbook. This is a really rich, moist chocolate cake made with buttermilk and freshly brewed hot coffee added to the cake batter, and instant coffee powder added to the icing. Make sure you use a good quality cocoa powder and semisweet chocolate, and not chocolate chips because they contain stabilizers.

Let’s face it, a nice creamy chocolate cake does a lot for a lot people; it does for me.
— Audrey Hepburn

It is definitely an old-fashioned cake, which harkens back to the days when milk was delivered to your doorstep by a milkman. This cake calls for two 8” round cake pans. Initially, I thought the cake wasn’t going to be very high. However, not the case, this recipe makes two very thick cake layers, and a beautiful presentation with the chocolate buttercream frosting.

Romance is the icing but love is the cake.
— Julia Child

A little culinary secret for you that you may or may not know. A little coffee flavor greatly enhances and heightens chocolate flavor. Further layer the coffee flavor theme, and serve this delicious cake with coffee ice cream or coffee gelato. A home run!

Over the years I have shared special chocolate dessert recipes. See below for more fabulous chocolate recipes you can make for Valentine’s Day.

More Related Posts
A Perfect Dessert to Celebrate Valentine’s Day

Jim Dodge Chocolate Pecan Cake

February is Love

Bon Appétit et Bon Weekend….Bonnie


Pumpkin Maple Cornbread

Heavenly Pumpkin Maple Cornbread

I have to share this delightful Pumpkin Maple Cornbread with you in case you missed it in The New York Times. I knew, just by first reading it, was going to be fabulous. Sweetened with brown sugar and maple syrup, moist and rich, this is not your typical cornbread. In fact, it is so versatile, it could be a fall breakfast sweet, a Thanksgiving side, or just a satisfying snack. Easy to make, and one I am sure you will keep in your seasonal fall recipes.


Pumpkin Maple Cornbread

Lovingly Adapted from Samantha Seneviratne

Published in The New York Times


Ingredients:

½ cup plus 2 Tablespoons unsalted butter, divided, melted and cooled slightly, plus more for greasing the pan.

1 cup finely ground yellow cornmeal

1 cup all-purpose flour

1 teaspoon baking powder

¾ teaspoon kosher salt

½ teaspoon baking soda

1 large egg

¾ cup packed light or dark brown sugar

1 cup canned pumpkin purée

½ cup buttermilk

½ cup plus 2 Tablespoons maple syrup, divided

¼ cup pumpkin seeds (pepitas)


Directions:

Heat the oven to 375 degrees F. Butter an 8-inch square baking pan. Line with parchment paper, leaving a 2-inch overhang on two sides. Butter the parchment.


In a medium bowl, whisk together the cornmeal, flour, baking powder, salt, and baking soda.


In a large bowl, whisk together ½ cup melted butter, the egg, brown sugar, pumpkin purée, buttermilk, and ½ cup maple syrup. Fold in the dry ingredients. Transfer the batter to the prepared pan, and smooth out the top.


Top evenly with the pumpkin seeds. Bake until a toothpick inserted into the center comes out with moist crumbs attached, 25 to 30 minutes. Meanwhile, combine the remaining 2 tablespoons of melted butter and the remaining 2 tablespoons maple syrup.


Transfer bread in the pan to a wire rack. While the bread is still warm, brush the entire surface with the butter-maple mixture. Remove the cornbread from the pan using the overhanging parchment, and cut cornbread into pieces. Serve warm or at room temperature. Makes 9-12 servings. Recipe Note: Be sure and use finely ground cornmeal, and real maple syrup for this recipe.


Pumpkin Maple Cornbread Just Out of the Oven Cooling


Bon Appétit et Bon Weekend…Bonnie


Jubilant for Cherries
Our Gite Patio Overlooking Sablet, Provence

Our Gite Patio Overlooking Sablet, Provence

Back in 2007, my husband and I rented a gite outside of the medieval village of Sablet in Provence, France. A gite is a small furnished vacation house in France, usually in a rural setting. I rented it online, and was drawn to the spectacular setting nestled amongst the grapevines with the stunning lower Rhône Valley before our eyes.

Once a bachelor farmer son’s small stone home upstairs, and where livestock often were conveniently sheltered on the ground floor below, this beautiful little property had been lovingly restored and transformed into a very comfortable gite. I will never forget walking into the stone home and kitchen for the first time, finding a waiting bottle of Rhône wine on the wooden kitchen table, a huge bowl of fresh ripe cherries, and a note to enjoy our stay. I was in heaven.

Since we usually travel to France in the spring, I now always associate Provence in the spring with the fabulous seasonal cherries. So sweet and delicious, perfect fresh or in a light dessert.

Cherries at Apt, Provence, Saturday Market

Cherries at Apt, Provence, Saturday Market

Experiencing fresh cherries in Provence, I wanted to grow spring cherries in our orchard, but cherries typically need a cool climate, abundant chill hours, not normally trees for Southern California. A few years ago, I found cherry trees suitable for Southern California at Green Thumb Nursery in San Marcos, a retailer for Dave Wilson Nursery.

I bought a Minnie Royal and a Royal Lee, two great Southern California cherry trees necessary to pollenize each other. For some reason, I kept losing the Royal Lee tree, twice in fact, and then once with the Minnie Royal tree. Graciously, Green Thumb Nursery replaced each tree for me. I was beginning to doubt it was possible to grow cherry trees in Southern California.

Minnie Royal Cherries in My Orchard

Minnie Royal Cherries in My Orchard

With persistence, both trees are doing really well now. Last year was my first crop, and now this year, an even bigger cherry crop. I eat them off the tree when gardening. I don’t think they will see my kitchen for a couple of years.

Garden Design Tip: I always enjoy spring nasturtium that reseed and self-sow in my orchard which adds a little color and interest. This year I planted multi-color sweet peas at the base of many of my orchard trees, providing a few small stakes close to the trunk of each tree. The sweet peas responded well, climbing up the stakes, some onto the trees, and sprawling around the base of each tree with pretty color. I was pleased, and will continue to do it next year. You can also plant a climbing rose at the base of your fruit tree, and the rose will use the tree as support as it grows. These ideas are simple, add interest, and dress up an orchard or focal fruit tree.

Royal Lee Cherry Tree on the Left, Minnie Royal Cherry Tree on the Right

Royal Lee Cherry Tree on the Left, Minnie Royal Cherry Tree on the Right

Do you have a success story with a fruit tree, or your backyard orchard? Please share!

Bon Appétit and Bon Holiday Weekend….Bonnie


Macadamia Nut Toffee Tart
Baked Macadamia Nut Toffee Tart

Baked Macadamia Nut Toffee Tart

A couple of weeks ago I wrote about harvesting and cracking macadamia nuts from our own trees. I also mentioned some of the recipes I was eager to make. This Macadamia Nut Toffee Tart is one of them. It hails from the Sun Valley restaurant, Vintage, Handcrafted Cuisine from a Sun Valley Favorite, 2006, by Jeff Keys.

Every recipe is absolutely marvelous, with a little story around it. The recipes in this book transport you to the rustic elegance of Sun Valley. If you are ever in the area, you must make plans to eat at Vintage. I confess, I have not been to the restaurant, nor Idaho, but I was compelled to read this cookbook cover to cover in one evening. Maybe someday I will make it to Idaho.

I love tarts. I think they are fun, elegant, and usually quite a dramatic way to end a great dinner. I was especially interested in putting my own macadamia nuts to the taste test. They delivered! This tart was very easy to make, and I like how the macadamia nuts and toffee marry well together. The recipe suggests serving it with a dollop of ice cream. I like how it calls for am 11-inch tart pan, because once you take a bite, it is hard to stop. Makes 8-10 servings.

 
Vintage’s Macadamia Nut Toffee Tart Recipe

Vintage’s Macadamia Nut Toffee Tart Recipe

Bon Appétit and Bon Weekend….Bonnie

A Mother's Day Menu
One of My Favorite Photos With My Mom

One of My Favorite Photos With My Mom

This weekend is Mother’s Day, and a chance to celebrate “Mom” in your life, whether in person, via zoom, or in the spiritual sense. This year I am celebrating Mother’s Day with my Mom, and it is such a treat. So I raise a glass and toast to all the Mom’s, and you this weekend!

Here is a suggested Mother’s Day Brunch Menu I put together for you, surely to please all of those gathered for your Mother’s Day Celebration! The strata and crumb cake can be made a day ahead. Shop for your fresh fruit, juices, smoked salmon, cream cheese, balsamic glaze, and asparagus a few days before. Maybe someone in your crowd can run out for bagels Sunday morning, or for ease purchase them the day before.


“Mother’s Day Brunch Menu”

Goat Cheese, Artichoke and Smoked Ham Strata (Bon Appétit 1997)

Bagels and Smoked Salmon with Cream Cheese

Grilled or Roasted Asparagus with Balsamic Glaze

Fresh Seasonal Fruit Salad, Blood Orange Juice, or Tangerine Juice

Chocolate Banana Crumb Cake (Ina Garten’s cookbook, Make It Ahead 2014)

Champagne, Mimosas, or Sparkling Wine

French Roast Coffee


Mother’s Day Brunch Directions:

1) Put your pre-made strata in oven to bake for about an hour before serving.

2) Unwrap your room temperature cake and slice.

3) Wash, trim, and toss asparagus with a combination of a little extra virgin olive oil and fresh lemon juice to coat. Add a little sea salt and fresh ground pepper. Roast at 400 degrees F. for 25 minutes or grill until soft. Drizzle with Balsamic Glaze before serving.

4) Make your fresh fruit salad, or pour glasses of desired juice.

5) Have your coffee ready to go, and champagne or sparkling wine chilled.

Don’t forget to plan ahead for fresh flowers for the table, either from your garden, or your favorite local florist. Take lots of photos, embrace the moment, and the preciousness of this very special occasion.


Make Your Table Special for Mother’s Day

Bon Appétit, Bon Weekend, and Happy Mother’s Day! ….Bonnie