I absolutely adore my "garden baby" fountain. Before an estate sale, it had been cherished in someone else's garden for a very long time. In a way, when I purchased my "garden baby", I felt like I was taking guardianship of this precious little concrete soul. To me, a "garden baby" exudes the spirit of a garden in another form other than plants. It captures a kaleidoscope of emotions such as love, purity, bliss, innocence, oneness, and peace.
I started researching "garden babies", and found very little, which added even more to their mystery. Usually found in a statuary or fountain form, why were they so popular at one time? What do they symbolize? What is their meaning in our gardens?
So, I asked two friends who are experts on the subject, and I share with you their insight on "garden babies".
Pat Welsh, an incredible gardener and garden writer for over fifty years in the San Diego area. She writes about "garden babies" from a historical European perspective.
"Statues of babies and children in gardens go back to ancient times. In England, especially, they sometimes have a sorrowful meaning. Since the 19th century, and probably long before that, people made little gardens in memory of babies that had died or were miscarried. Creating such a garden was a way to deal with grief. Sitting in such a garden gave one a place to mourn surrounded by statues of babies and it provided a special place to pray for a baby who had died. People still make these gardens today in memory of babies who died or miscarried.
In the Renaissance plump little boy angels, called putti, became popular. These also were often seen in gardens or as carved decorations on buildings, sometimes just for fun and other times to assuage grief. It made people feel better to think of their own little angel flying around happily in Heaven.
Statues of Greek and Roman gods lend romance to gardens and make us remember the deep mythological roots of garden-design and garden creation. Statues of deer, birds, turtles, rabbits, and other animals bring life to gardens and symbolize closeness to nature. Statues of children in gardens make us think of happy, carefree childhood out in nature. Statues of babies symbolize innocence, joy, and protective love. The mythic idea of a naked baby in a grassy glade or laughing in a fountain makes one think of one's own soft naked skin against the leaves, grass, cooling water on a hot day, and all the other textures in nature. The contrast in textures must have been particularly pleasing during eras, such as the Victorian era or the Elizabethan era, when the upper classes, the people who had gardens, were so covered with many layers of clothing they could never feel the sensual pleasures of being lightly clad or naked out in nature."
Pat Welsh, "The Resident Gardener"-Author-Public Speaker-Garden Consultant, Pat Welsh's Southern California Gardening, A Month-by-Month Guide.
Beau and Nancy Kimball, own the highly respected, Kimball & Bean Architectural & Garden Antiques business, situated on a historic 1830's farm homestead, fifty miles northwest of Chicago, Illinois. Beau writes about "garden babies" from an American architectural perspective.
"I believe that the "garden baby", although born in Europe, is more of an American creation than a European one. Prior to the turn of the 19th century almost all garden sculpture was of a classical Greek or Roman form. Starting with the Columbian Exposition in Chicago 1893 and continuing through the Paris Worlds Fair of 1900, a whole new form of humanistic, less severe sculpture began to take hold in the Paris ateliers of American sculptors like Lorado Taft and Frederick MacMonnies.
Several of their students including Janet Scudder (the "Frog Fountain"), Edith Parsons (the "Frog Baby") and Sylvia Shaw Judson ("Bird Girl" and the "Naughty Faun") became famous by supplying Gatsby age society clients and their estates with fountains and statuary made from carved stone, lead and bronze in this new friendlier form that included pixies, fairies and children.
Unlike the earlier classical sculpture, this humbler form also turned out to be the perfect style for the hundreds of thousands of newly minted suburban gardens of the post WWII building boom - especially when created in the more egalitarian concrete. Almost all of what we see today was produced in the last forty years. I often see it as being described as "1940's", but, it in my experience, it can almost always be documented as post 1960's at the oldest."
Kimball & Bean Architectural and Garden Antiques 3606 South Country Club Road Woodstock, IL 60098 Phone 815-444-9000 Fax 815-444-9002 www.kimballandbean.com
Many thanks to Pat Welsh and Beau Kimball for sharing their expertise and perspectives. "Garden babies" is a fascinating subject. If you have a "garden baby" in your garden, or have additional information to comment about them, please feel free to share.
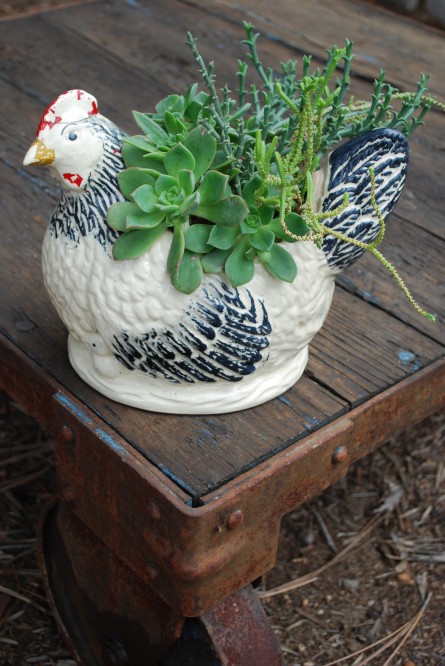 Vintage chicken planter cackles with character, and begs to be potted with succulent plumage. Round and rosette-like, I use my perennial favorite succulent, echeveria, planted at my hen's shoulder and back. Similiar to a perfectly shaped fleur-de-lis, is the handsome green, slightly uncommon ice plant relative, Smicrostigma viride. The chartreuse green notched strands, with a mind of their own, are Crassula mucosa, or Watch Chain succulent (formerly Crassula lycopoidioides). One couldn't ask for better plumage, that keeps on growing.

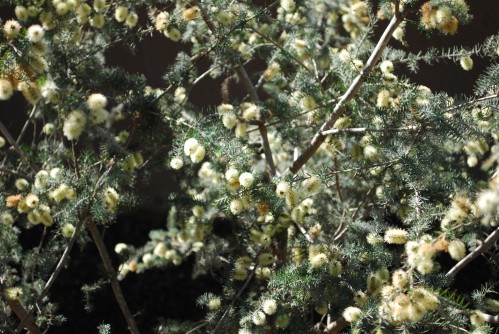 I wanted to write about the Grey Honey Myrtle tree, because it is one of my stellar nursery choices, of the last two years. You know the ones. They catch your eye in their generic container. You have an inkling they could look nice in your garden or yard. You take them home, plant them, and you all settle in. Presto, you wonder how you ever lived without them. They do something incredible and unknown to you, such as a totally unanticipated explosion of color. Yes, it is a big deal, because there are many more lackluster nursery choices that seem to fizzle, and all with good intentions. Has this happened to you?
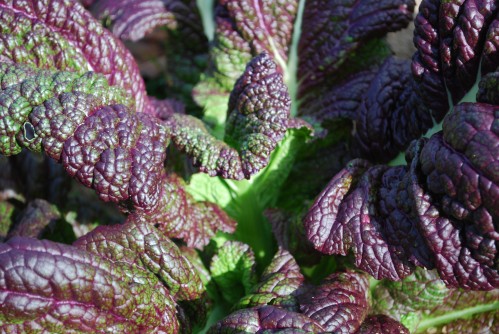 If you like spring greens, you will love to grow and cook with the asian mustard, Red Giant, Brassica juncea. Easily started by seed, it is a cool season annual which is slightly peppery in taste with magnificent green to dark purple textured leaves. Although it is "cold and bolt" tolerant, if allowed to flower, it has incredible yellow flowers that emerge as a tall spike out of its center, as a final encore.
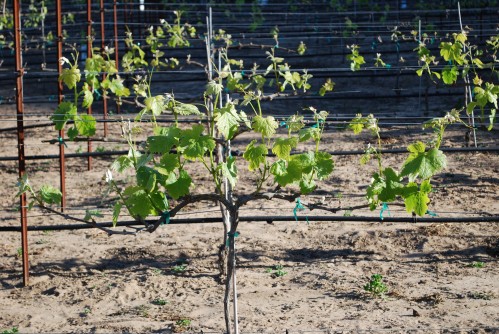 Here at Domaine de Manion (DDM), in our backyard vineyard, we finished our spur pruning in February, and knocked down most of the winter weeds. Spur pruning is cutting last year's grapevine canes down to two nodes or buds at each spur, off of the cordons. It is an individual management practice how many spurs you keep on each arm or cordon, but usually you have at least 5-6 spurs, a fist length apart on each cordon. Please note there are different types of pruning techniques used in vineyards throughout the world. We prefer the spur pruning method in our "syrah" vineyard.
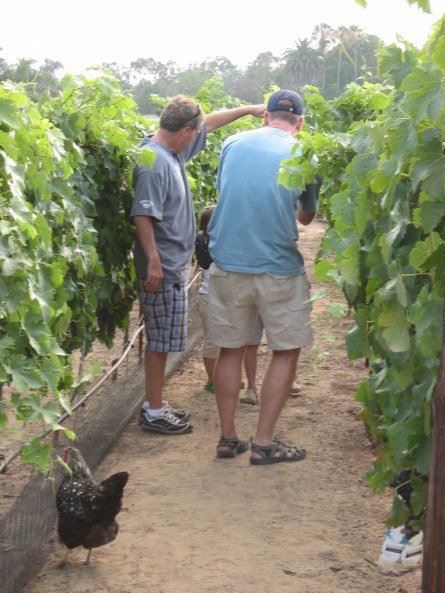 "Hollywood Girls" Just Wanna Have Fun.
 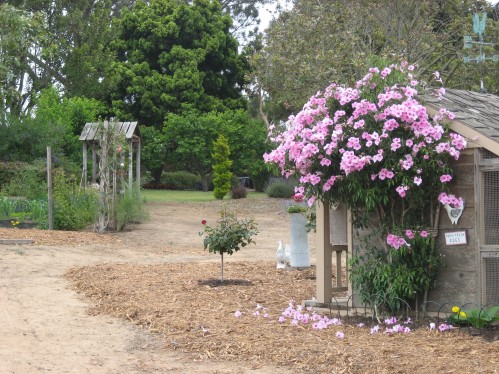 Once you have your backyard chicken coop in place, you must not forget decor details. It does not matter what kind of chicken coop you have built or modified, you must add a little fun with details. Chicken coops are usually a small charming structure, which lend themselves to fanciful decorative touches in any style you prefer.
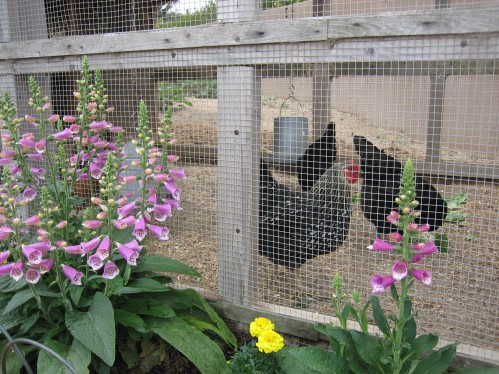
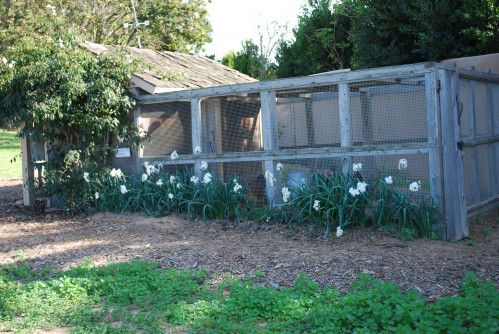
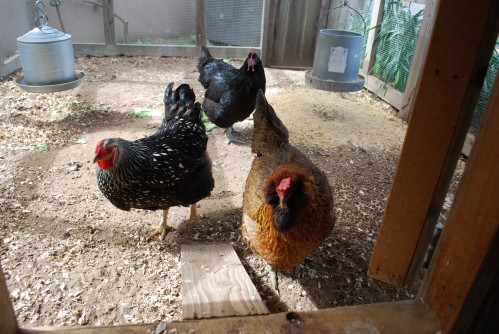 The "Outside Pen" is an integral part of keeping happy chickens. Our outside pen adjoins seamlessly to the chicken coop, providing our chickens with room to be active. There is an outside door that closes for night time, or if there is stormy weather and you want to keep your chickens in their coop.