The Making of a Garden Room
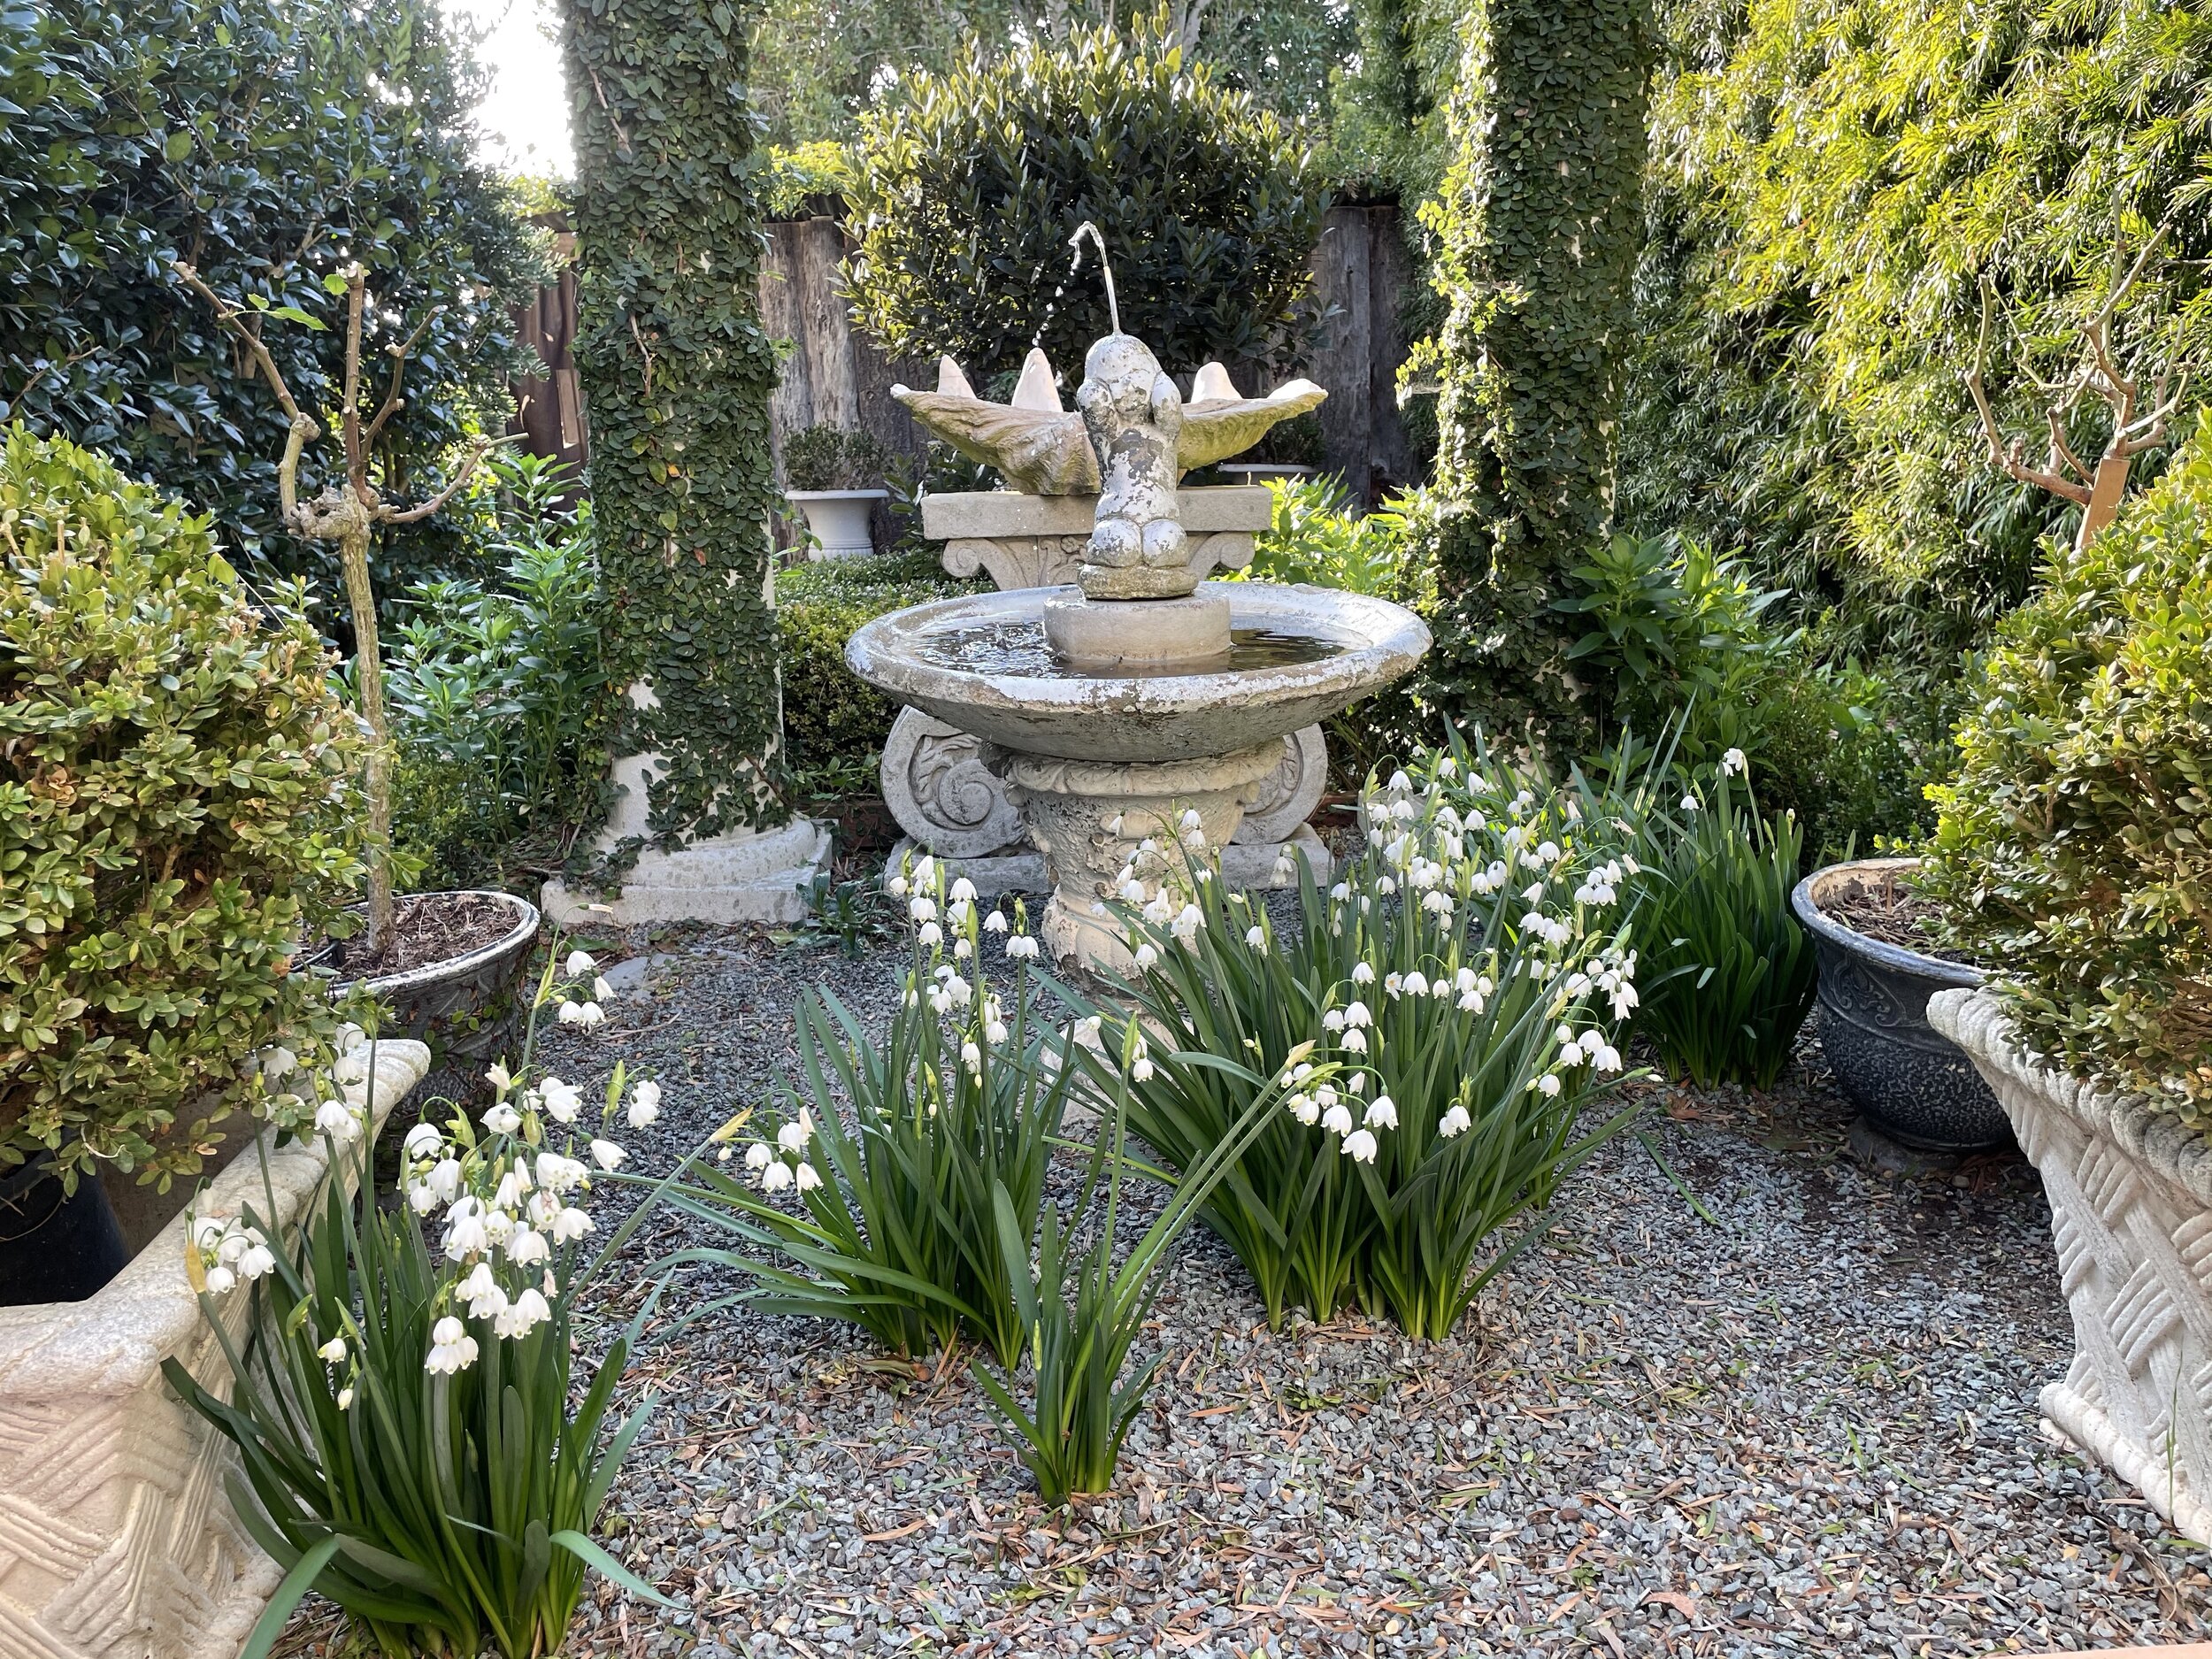
February 2021, Winter White Garden, Leucojum Blooming, Looking West
I am not a Landscape Designer, but I have had success in creating garden rooms from my vision. These garden rooms take time, and thought, and hard work. Don’t forget patience. In the end, however, the garden room I create usually evolves into something much better than my original inspiration and the original vision I had in my head, and I am overjoyed. I thought you might be interested in how I do it.
This is somewhat similar to what I wrote and mused about in January 2021. Dream big. Create a vision. Make your intention, own it. Release it to the universe to manifest it. Detach yourself from the outcome. If everything is aligned, your outcome is delivered to you, incredibly better, and so much more than you could have ever imagined.

May 2019, Spring Time White Garden, Roses and Alstroemeria Blooming, Looking West
1) Have a garden location or garden room area where you want to create a special spot. It might be a blank canvas, or it might be an existing garden that needs refreshing or revising.
2) Find inspiration in garden magazines, tours, books, and even word of mouth. Save these inspirations in a file. I found the inspiration for my white garden, two photos above, in a Garden Design May/June 2010 magazine article featuring a Charleston, South Carolina garden. I have not been to Charleston yet, but hope to get there one day. This particular photo really caught the vision and idea of what I wanted to do. It was a small garden, close to the house, appeared enclosed or walled, was European influenced, used topiaries, appeared to be half garden/half patio, was elegant, and visually beautiful.

Inspiration Photo from Garden Design Magazine May/ June 2010, of Charleston, S.C. Garden
3) Be aware that your piece of inspiration will most likely not be carbon copy of what you want, but it will have the bones in it, of what drew you to it. It will be much more than you ever imagined.
4) Put in your structural boundaries, or build your perimeter. First, we built a new fence near our property line, where none had existed. I planted a podicarpus privacy hedge on the north, and a privet hedge on the south close to our home. Our existing garden shed was the south boundary, and the back of my garage, the east boundary.
5) Create more garden details. Instead of brick, I used a stone pea gravel to create a large square which would anchor half of the garden. The other half of the garden, I created a square boxwood parterre with a bay laurel topiary tree, and iceberg roses, and connected them with mulched walking paths.
6) Add your adornments. Collect these over time. I had an existing vintage “garden baby” fountain, which found a home, front and center in the pea gravel square. It is also a cooling water feature in this little garden, and a great spot to watch little birds relaxing and bathing. Later I acquired two faux pillars, light as a feather, but very real in appearance. Next came more vintage pots, in white, and so white was the theme for the garden.
7) Assemble your plant materials, plan for different plants to bloom each season. Plan your plant palette. I planted several white iceberg roses, some bush, some topiary. Alstroemeria “Casablanca’ are tall, have movement, and anchor each pillar. Leucojum, perennial bulbs planted in the old garden, return each year unscathed through the pea gravel announcing spring is around the corner.
8) Let your garden design itself. Over time, I find the garden starts to take over, and create its own design. Picture an abandoned house or church, where the landscape slowly creeps in, and starts to reclaim the structure, and design itself. My privet hedge created a natural archway with a side limb reaching out to the pillar. Creeping fig, which was so hard to start in the beginning, now has almost totally covered each pillar.

Before Photo, Looking East, Circa 2001
Immediately above is the only photo I have of the garden somewhat early on, and I think it is around 2001. It is not even what the garden looked like when we first moved in. The camelia bush was existing, but there was no lawn, only weeds. The big change came in 2010, when we completed our home remodel, and this space became a small but inviting area for an intimate garden.

After Photo, Looking East, February 2021
Immediately above, is how my white garden looks today. Happy and healthy, and looking forward to spring!
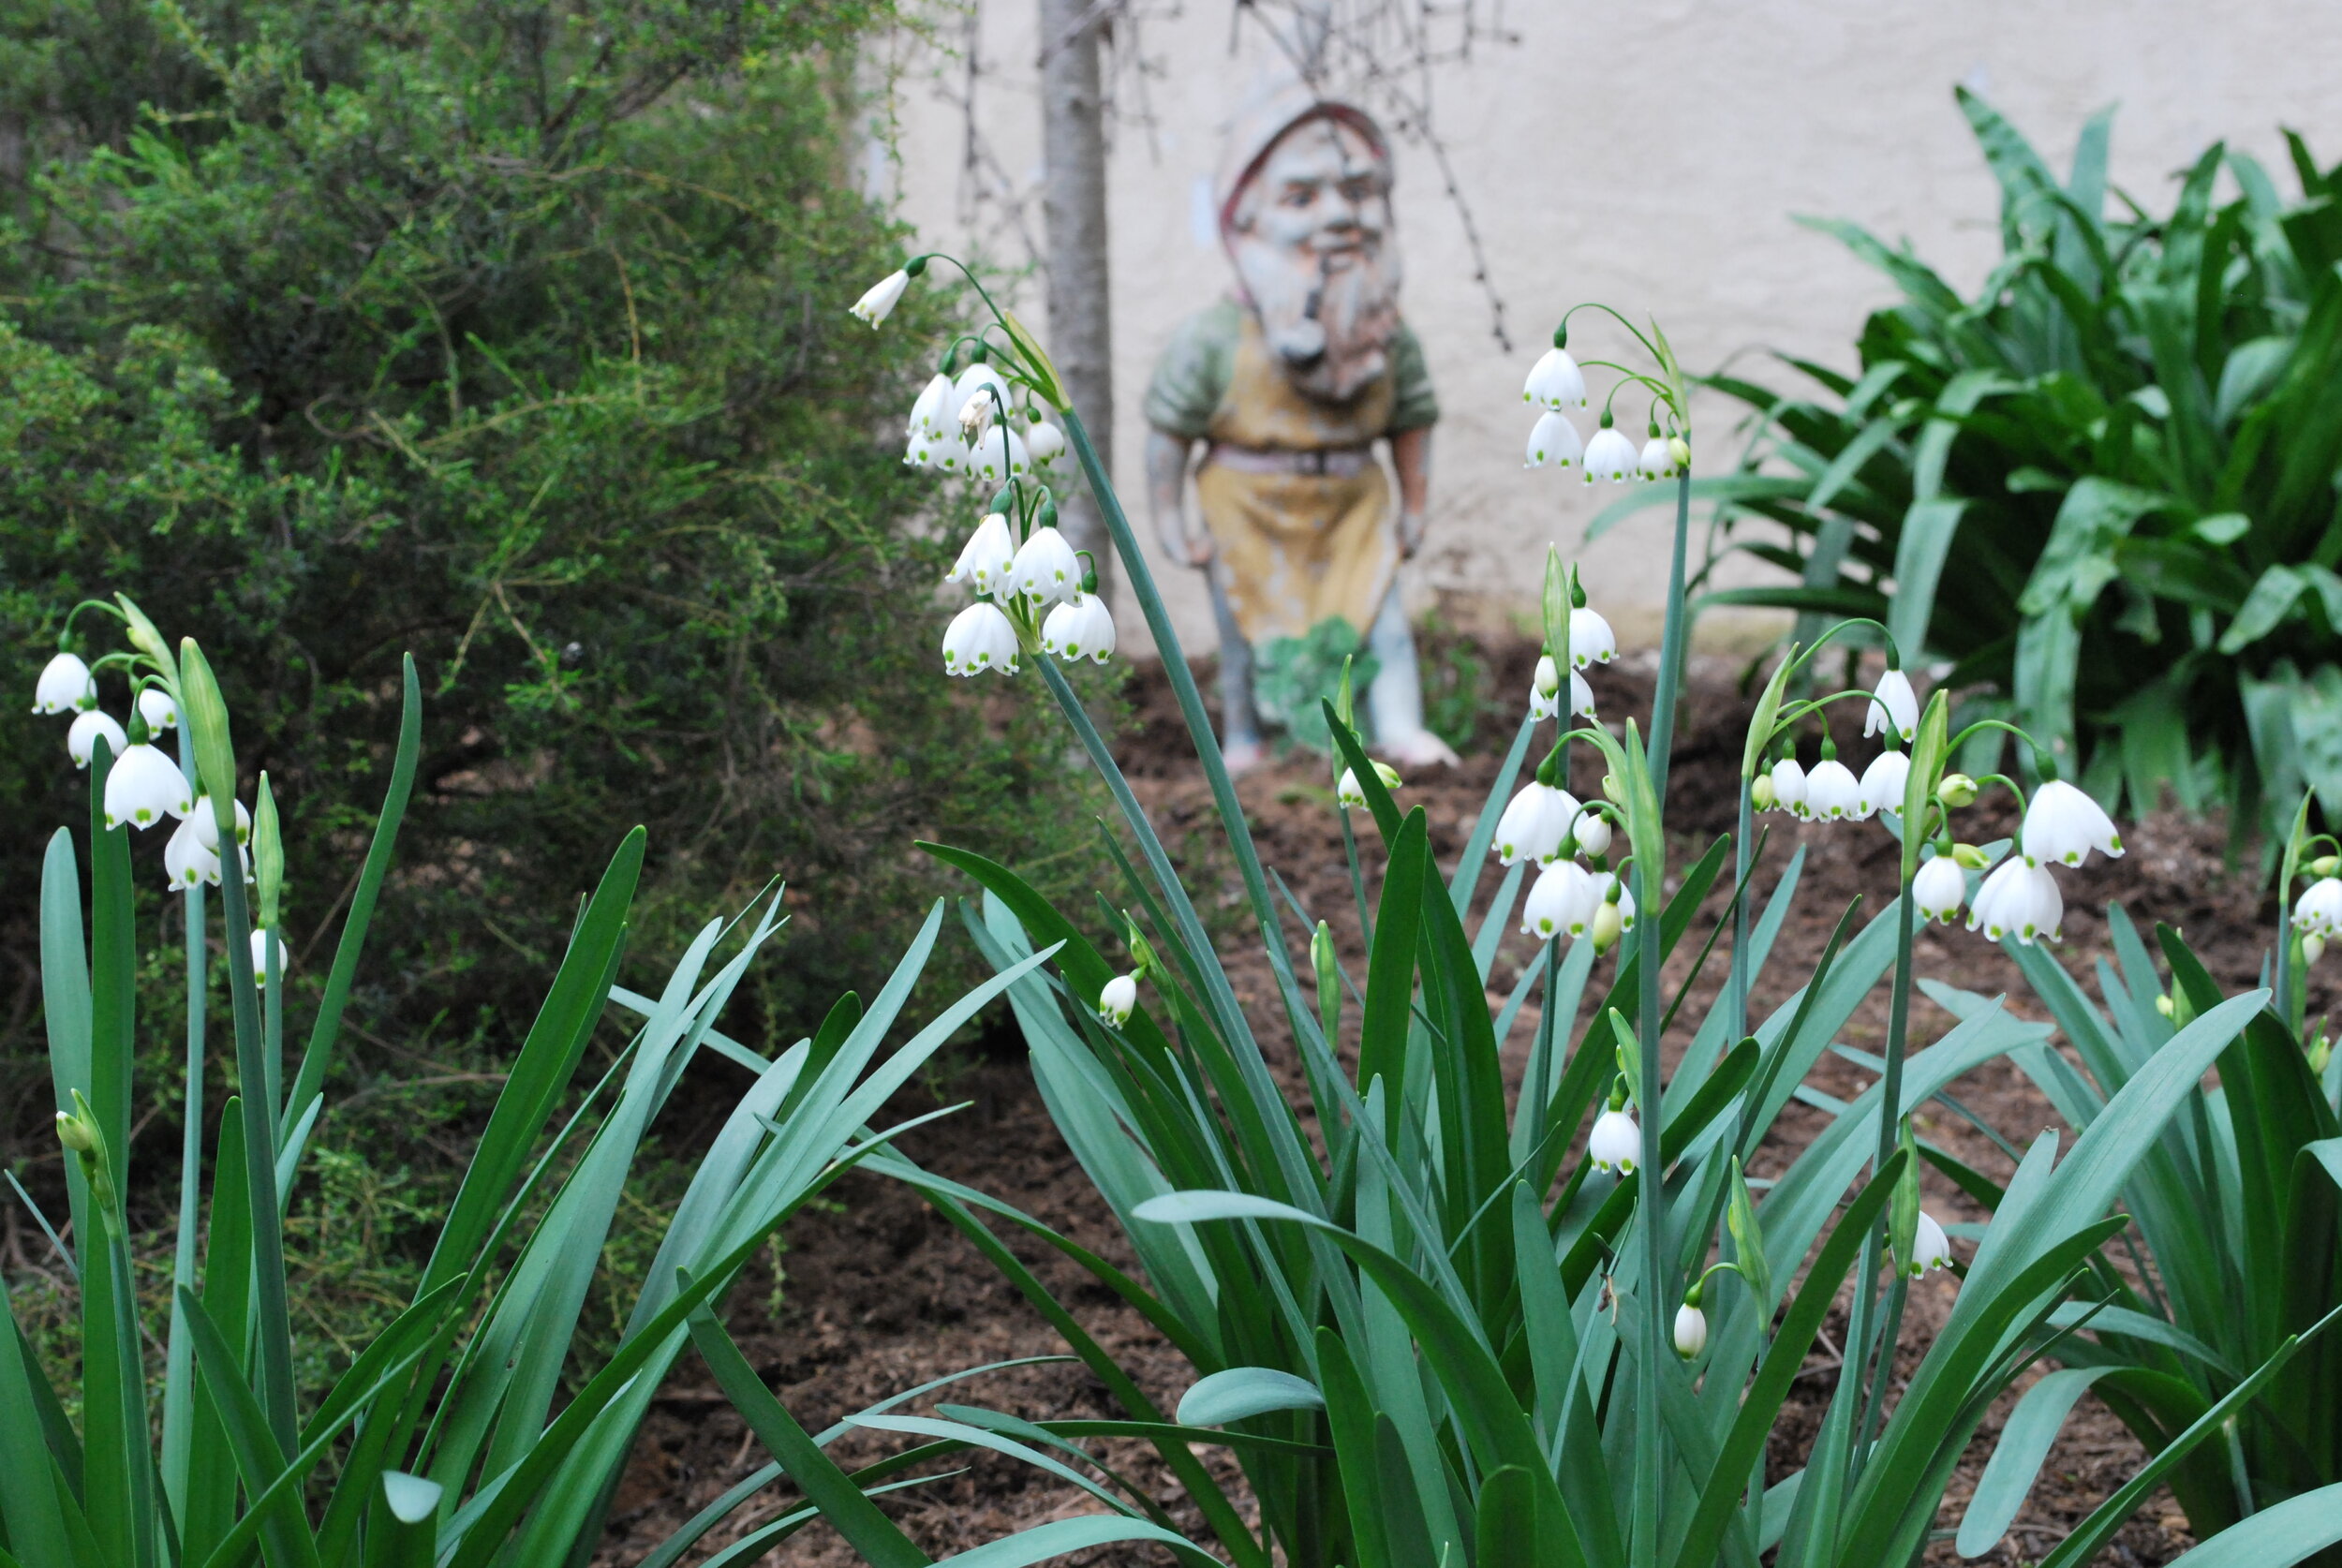
Leucojum Blooming
Click on Spring Blooming Gravetye Giant for my past post on the perennial bulb beauty. Please share where you get your garden inspirations and/or how you have created your favorite garden. Do tell!
Bon Weekend….Bonnie