Posts in Recipes
Easy Breezy Macaroons
Golden Macaroons Dipped in Chocolate, French Country Living

Golden Macaroons Dipped in Chocolate Setting

This is another great recipe I have gotten from my Mom. She saw it originally in the April 2001, Better Homes and Gardens magazine. It is not a French Macaron recipe. It is a Golden Macaroon recipe with an option to dip in semisweet chocolate after baking. Not quite a cookie, and not quite a candy, it is a delight for coconut lovers!

The secret to this recipe is using two kinds of coconut — a regular flaked, sweetened coconut and an unsweetened, finely shredded coconut, held together with a touch of honey that creates a golden color when baked. This recipe yields 3 to 4 dozen macaroon, depending on your drop batter size.


Golden Macaroons

Lovingly Adapted from Better Homes and Gardens

Prep/Chill: 35 minutes Bake: 17 minutes

Ingredients:

2-1/2 cups flaked sweetened coconut (about 7 ounces)

2 cups unsweetened finely shredded coconut

1 cup sugar

3 Tablespoons all-purpose flour

1/4 teaspoon salt

4 egg whites

1 Tablespoon honey

1 teaspoon vanilla


Directions:

1) In a large bowl combine flaked and shredded coconut until evenly mixed. Flaked coconut should be broken into separate flakes and with very small clumps present.

2) In a medium mixing bowl combine sugar, flour, and salt. Add the egg whites, honey, and vanilla. Whisk rapidly until smooth. Pour sugar and egg white mixture over coconut mixture. Stir first with a wooden spoon, then use your hands and continue to blend until evenly mixed. Cover with plastic wrap; chill for 30 minutes.

3) Preheat oven to 300 degrees F. Line a large cookie sheet with baking parchment paper. Drop rounded tablespoons of macaroon batter onto the cookie sheet about 2” apart. (I actually use a small ice cream scoop for consistency.) You will probably need a second baking sheet, or fill your original a second time after baking your first macaroons.

4) Gently pinch mounds of macaroon together before baking. Bake for 17 to 19 minutes, or until golden brown. Remove from oven. Let cool on a cooling rack.

5) If you are interested in using dipping chocolate for your macaroons: 1) in a small saucepan, heat 3/4 cup heavy cream to near boiling; remove from heat. Add 6 ounces of your favorite chopped semisweet chocolate (do not use chocolate chips). Let stand for 5 minutes, then whisk until smooth. Cool completely, or to your desired consistency for dipping. Dip one side of your cooled macaroon into your chocolate mixture, and return it back to the parchment paper to further cool and set. Enjoy!

Chocolate Dipped Macaroons, French Country Living

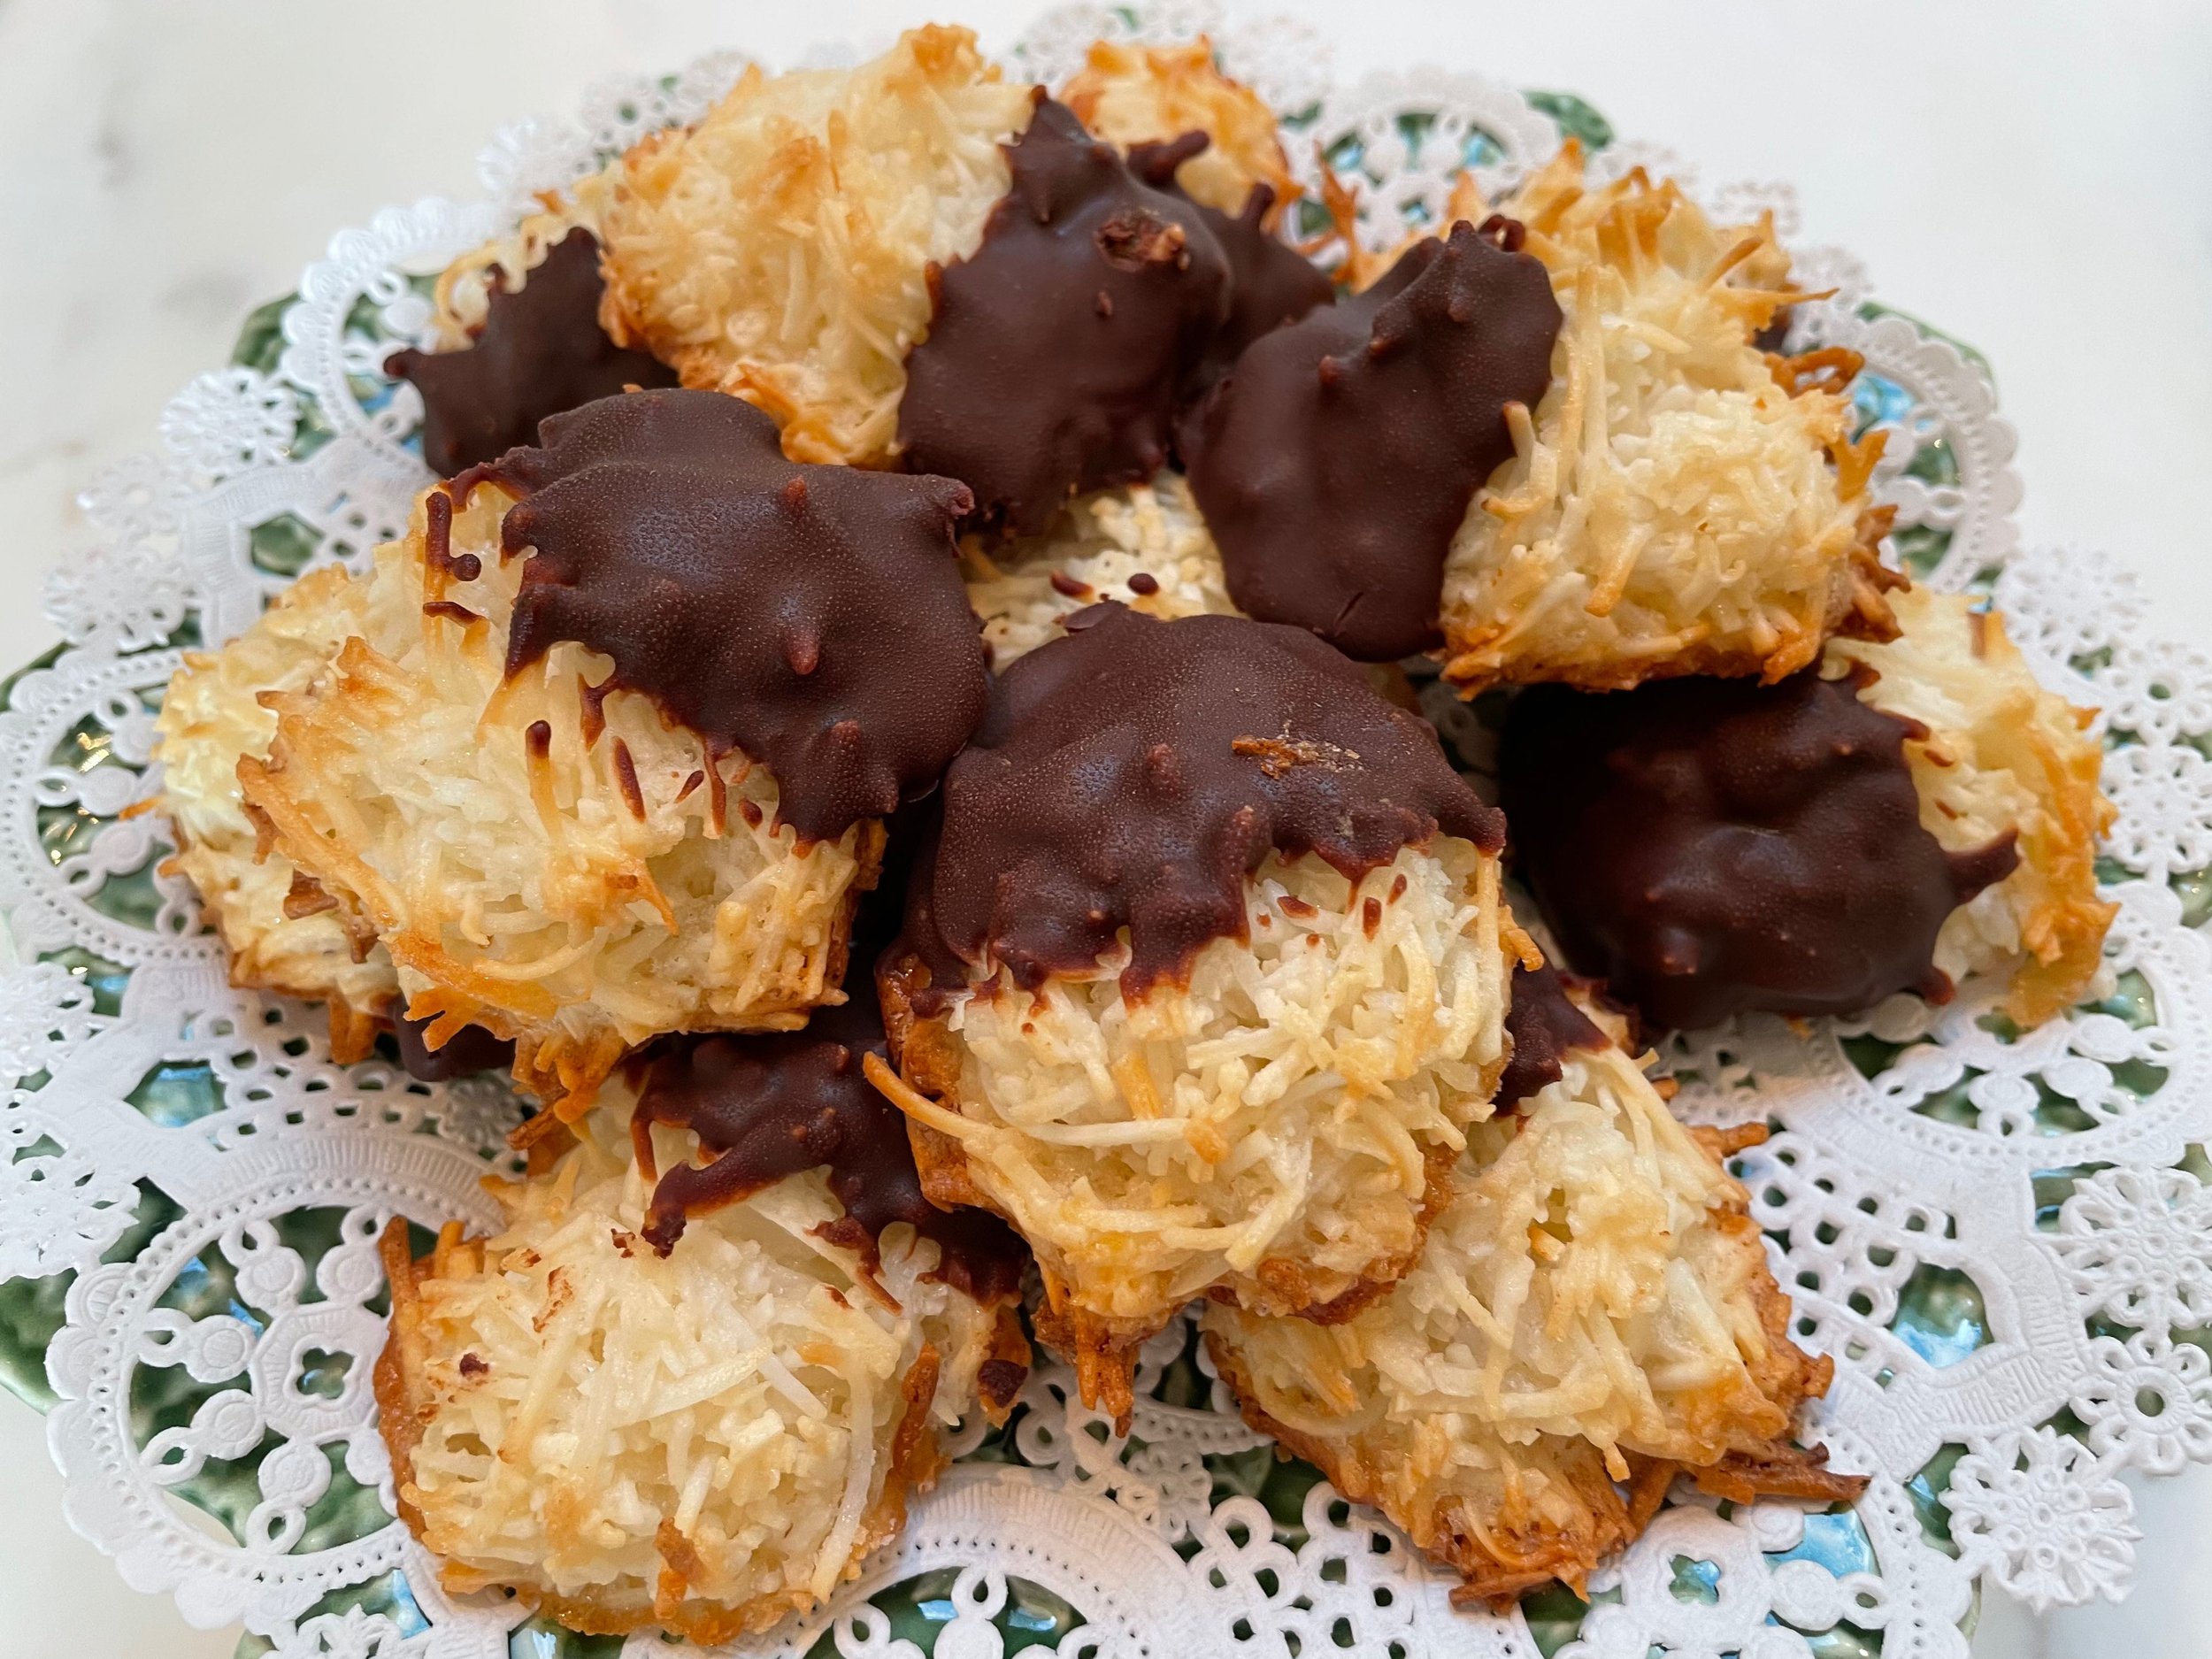
Chocolate Dipped Macaroons Ready to Serve

Bon Appétit et Bon Weekend…Bonnie


Hummingbird Cake Cult Following
Hummingbird Cake and Hydrangeas, French Country Living

Hummingbird Cake and Hydrangeas, A Dreamy Combo

Birthdays and special occasions are usually celebrated with Hummingbird Cake here at Domaine de Manion. There is something special about the combination of sweet banana, pineapple, and cream cheese in this elegant cake recipe that lives on and on. A Certain Mrs. L. H. Wiggins submitted in 1978, the original Hummingbird Cake recipe to Southern Living, and the rest is history. It has become one of Southern Living’s most popular cake recipes of all time, more than forty years later. It really is a crowd pleaser, and lives up to the occasion it is served at.

I have written about and shared my Hummingbird Cake recipe in a post back in February 2021 (see below). Recently I saw a link from Southern Living on 8 Fresh Ways with Hummingbird Cake That Can’t Get Any Sweeter, and thought to myself, there is a real cult following going on. Think Hummingbird Bundt Cake, Hummingbird Pancakes, the Original Hummingbird Cake Recipe, Lightened Hummingbird Cake, Hummingbird Snack Cake with Brown Butter, and more.

My version of Hummingbird Cake recipe below is not too far off from the original, as best as I can see. It makes a very nice 8” three layer or 9” two layer, where in the original recipe, ingredient amounts are larger to make a 9” three layer cake. The original recipe also calls for not draining your crushed pineapple, and mine does. I suggest you drain your crushed pineapple, as the cake is still very, very moist. I also often forgo the nuts as top and side garnish.


Hummingbird Cake


Ingredients:

1-1/2 cups sugar

1-1/2 cups all-purpose flour

1 tsp. baking soda

¼ tsp. salt

¼ tsp. cinnamon

1-8oz. can crushed pineapple—juice packed, drained

½ cup canola oil

4 eggs slightly beaten

1 tsp. vanilla

1 cup chopped bananas

1 cup chunky-style applesauce

2/3 cup chopped walnuts, toasted


Directions:

Grease and lightly flour two 9” round cake pans. Place a circular parchment paper fitting each pan on top of greased and floured cake pans for ease of removing baked cakes. Set pans aside.


In a large mixing bowl, combine the sugar, flour, baking soda, salt, and cinnamon. Add drained pineapple, oil, eggs, and vanilla. Beat with an electric mixer until combined, scraping the sides of the bowl occasionally. Stir in bananas, applesauce, and walnuts. Divide batter between two prepared pans.


Bake in 350 degree F. oven about 35 minutes, or until the top springs back when lightly touched. Cool cake layers on wire racks for 10 minutes. Remove from pans, cool thoroughly on wire racks. Prepare the Cream Cheese Frosting and frost cake.


Cream Cheese Frosting


In a large mixing bowl, beat one 8oz. package cream cheese (softened), ½ cup butter (softened), and 1 tsp. vanilla with an electric mixer until light and fluffy. Gradually add 5 cups of sifted powdered sugar, beating until smooth and spread consistency.


Ice cake in one direction, trying not to get cake crumbs in the icing. Ice top of first layer of cake, add second cake layer, finish icing cake top and sides.


Press 1-1/2 cups finely chopped pecans, toasted into the sides of the cake. Sprinkle 2 tablespoons of finely chopped pecans on top of the cake. (I usually just cover the top of cake with toasted pecans, and not the sides.) Enjoy!!


Hummingbird Cake Great Down to the Last Piece, French Country Living

Great Down to the Last Piece

Past Related Posts:
Elegant Hummingbird Cake

Love Is A Four Letter Word And So Is Cake

Bon Appétit et Bon Weekend…Bonnie

Bakesale Betty's Banana Bread

You Are In For A Treat When You Make This Banana Bread

A few years ago during the onset of covid, when all of us were in dire need of comfort food, this Cinnamon Crunch Banana Bread recipe by Bakesale Betty Bakery in Oakland, California was featured in The New York Times by Julia Moskin.

I am sure all of you already have a favorite “go to” banana bread recipe, but this one is worth baking and sharing with others. It always guarantees compliments, and is instrumental in locals forming a line outside Bakesale Betty’s before they open.

A simple recipe to whip up easily and quickly for family and friends, the secret to this recipe is using honey in the batter, and a yummy hard-to-resist cinnamon-sugar topping. This recipe requires no mixer, and can be made in about one and half hours plus cooling.

Although I haven’t tried it yet, I think this recipe would work well made into standard size muffins. Use a standard muffin tin pan. Line with muffin papers. Fill with batter each muffin indentation half way. Sprinkle the topping over each muffin batter. Bake at 350 degrees F. for 30-35 minutes (start checking your muffins at 20 minutes) until a toothpick comes out clean in center of the muffin. Enjoy!


Cinnamon Crunch Banana Bread

Lovingly Adapted from Julia Moskin, The New York Times

Ingredients for Batter:

Unsalted butter, for greasing

1-1/2 cups all-purpose flour

1 cup granulated sugar

1 teaspoon ground cinnamon

1 teaspoon baking soda

1 teaspoon kosher salt

1/2 cup vegetable oil

2 large eggs

1/4 cup honey

1 cup mashed ripe bananas (2 to 3 medium bananas)

1/4 cup warm water

Ingredients for Topping:

1/4 cup brown sugar

2 tablespoons granulated sugar

1 teaspoon ground cinnamon

Directions:

Heat oven to 350 degrees F. Butter a 9-by-5-inch loaf pan and line it with parchment paper, leaving enough paper hanging over the sides to lift the cake out after baking. This is important because it will prevent the topping from breaking when removing the bread from the pan.

Prepare the batter: In a medium bowl, combine flour, granulated sugar, cinnamon, baking soda, and salt. In a large bowl, using a large whisk, beat together the oil, eggs, and honey until smooth. Stir in bananas and warm water. Add the dry ingredients to the egg-oil mixture, and stir to blend. Pour the batter into the prepared loaf pan.

Make the topping: In a small bowl, mix brown sugar, granulated sugar, and cinnamon, using your fingers to break up any lumps. Sprinkle evenly over batter.

Bake until a tester inserted into the center comes out clean, about 1 hour, checking after 50 minutes. If topping shows signs of burning, reduce heat to 325 degrees F.

Remove to a rack and let cool in pan for 30 minutes. Use the edges of the paper to lift the cake up and out. Place on a rack (leave the parchment paper on) and let cool before slicing and serving.

Bon Appétit et Bon Weekend…Bonnie


Mom's Lasagne

Mom’s Lasagne Ready for the Oven

This is my Mom’s delicious Lasagne recipe that she has been making for our family since the 1960’s. Actually, it originally came from an authentic New York Italian restaurant who shared it with her, so you know it has to be great! I have often made this recipe for holidays, birthdays, or a special dinner party. You can make it ahead for convenience, and even freeze it for a later time.

With Mom’s Lasagne, my menu suggestion is to serve a tossed vinaigrette green salad, warm garlic bread, and a simple dessert like lemon walnut biscotti accompanied by scoops of limoncello gelato. Simple, but satisfying, this creates a nice menu for any special occasion.

In honor of Mother’s Day, I am sharing my Mom’s Lasagne recipe with all of you! I bet she will be very surprised! Enjoy!


Mom’s Lasagne

Makes 8-10 Servings

This recipe is made up of several different layers. Make your meatballs. Make your sauce. Shred your cheese. Once your prep work, and layers are made, assembling your lasagne goes quickly.


Partial Ingredients:

1 pound Ricotta cheese

1 pound Mozzarella cheese

4 ounces Parmesan cheese

1 pound Lasagne (pre-cooked) curly edge noodles

1 pound Italian Pork sausage


Make the Meatballs:

Take one 1 pound ground beef and mix with Italian bread crumbs. Shape into small 3/4” balls. Brown in a skillet. When cooked, set aside, until ready to add to the sauce.

Make the Sauce:

Remove skin from italian pork sausage, brown in skillet. until cooked. Add 1 clove garlic cut fine, a little chopped parsley, and 1/2 teaspoon sweet basil. Add 1 large can tomato paste, along with 1 large can tomatoes (run through a sieve). Simmer sauce for 15 minutes. Add cooked meatballs to the sauce.

Make Layers:

In a 9” x 13” baking pan make layers of sauce, lasagne noodles, ricotta, mozzarella, and parmesan. Repeat your layers. Bake at 350 degrees F. for 40 minutes our until bubbly and cheese is melted and slightly browned on top. Let cool a few minutes out of the oven. Cut into squares for serving. If you froze your pre-made Lasagne, bring to room temperature before baking.


I heard from many of you who made the recent Pasta with Sausage, Lemon and Peas recipe. Thank you for your comments and raves!

Wishing all Mom’s a very Happy Mother’s Day!

May you be surrounded by your loved ones and a day of joy and blessings…Bonnie


Pasta with Sausage, Lemon, and Peas

Perfect Spring Pasta

I made recently one of my favorite recipes, Pasta with Sausage, Lemon, and Peas. What prompted me to dig up this almost forgotten recipe was I had all the ingredients at my fingertips—a new tub of crème fraîche, links of hot Italian chicken sausage, whole grain Dijon mustard, and frozen peas in the freezer. I thought what a great spring pasta recipe, especially if you are growing peas and fresh basil in the garden, and have ripe lemons from your trees.

Such a nice spring flavor pasta recipe, using asparagus comes to mind too. You could easily substitute fat fresh asparagus for peas too, blanching diagonally cut asparagus pieces for two minutes in pasta boiling water, straining them in a large scoop, and plunging pieces in an ice water bath to drain, cool, and pat dry. Ready to add to the recipe.

The recipe calls for half-fat or reduced crème fraîche, which I have never seen in the United States but is probably readily available in the UK. I use regular crème fraîche, and consider it a real treat. Adding the crème fraîche to the warm cooked pasta creates a light almost “alfredo-like” sauce, perfect for blending with all of the other ingredients, and without the heaviness and cheese.

This recipe is from BBC Good Food Magazine, Christmas 2001. BBC Good Food is the UK’s number one monthly food magazine that is packed with brand new recipes for everyday meals. I can’t remember how I came upon the magazine recipe, but I know I was taking a wine course at Mira Costa College in the evening, and quickly jotted this recipe down in class on notebook paper. Maybe I borrowed the magazine from a fellow classmate. I sure am glad I did, because I really like the simple combination of flavors that make this recipe a great one, and have enjoyed it over the years.

The recipe calls for 200 ml of crème fraîche which is about 3/4 of a cup minus 2 tablespoons. It serves four people and takes about 25 minutes to make. Vegetarians can use sliced mushrooms instead of sausages.


Pasta with Sausage, Lemon, and Peas

Makes Four Servings

BBC Good Food Magazine, Christmas 2001

Ingredients:

10 oz. dried pasta, such as penne

3/4 pound of quality pork sausage, or sausage of your choice

1 tablespoon olive oil

8 ounces frozen peas, or fresh peas, or blanched asparagus pieces

Pinch of chili flakes

Grated zest of one lemon

1 tablespoon whole grain Dijon mustard

200 ml. tub half-fat crème fraîche

Handful of fresh basil leaves torn


Directions:

1) Cook the pasta, throw in a teaspoon of salt. Three minutes before the pasta is ready, add in the frozen peas and cook with pasta.

2) Meanwhile, fry the sausages. Split open sausages into bite size pieces to cook. Heat oil in frying pan, and stir fry the sausages for 3-4 minutes or until cooked through.

3) Add the seasonings. Add the chili flakes and lemon zest to the sausages and cook 1 minute. Stir in the mustard and crème fraîche and simmer for 1-2 minutes. Drain the pasta and peas, and stir into the sausage meat mixture. Season well with salt and pepper, stir in the fresh basil leaves and serve. Enjoy!

Jotting Down the Initial Recipe

Please share if you have a favorite spring recipe you enjoy making over the years.

Bon Appétit et Bon Weekend….Bonnie


Sensational Romesco Sauce

Romesco Sauce Over Sweet Potatoes with Grilled Salmon

One of the best things about traveling is indulging in the the local food, and the lasting memories these foods create. While visiting Barcelona a few years back I was first introduced to romesco sauce. Romesco sauce is a classic sauce from Catalonia, northeastern Spain, generally made from a ground mixture of tomatoes, red bell peppers, onion, garlic, almonds, and olive oil. Almonds play a generous and key role in this delightful sauce, which is usually served with grilled fish or poultry but can also be used as a condiment or a dip.

In the Wall Street Journal this week, adapted from Mason Hereford’s recipe, Roasted Sweet Potatoes with Chipolte Romesco, Feta, and Basil was featured. This romesco sauce is the best I have ever had. It is a twist on romesco sauce using chipotle peppers instead of traditional roasted red peppers. So simple to make and the spicy, smoky romesco sauce dolloped over roasted sweet potatoes is a stroke of perfection. A simple grilled salmon with a pinch of chili lime salt rounded out a sensational weeknight dinner. Yum! Yum!

Please share your favorite food memory from traveling. Remember when Julia Child had just landed on French soil and had her first lunch of Sole Meunière which made her fall in love with French cuisine, totally changed her life, and she in turn totally changed our lives and our way of eating?

Bon Appétit, Bon Weekend, et Bon Easter….Bonnie

Classic BBQ Baked Beans

Classic BBQ Baked Beans by Frank Thomas

This might look a bit like chili, but it is one of my favorite Classic BBQ Baked Beans recipe from former baseball great, Frank Thomas in his cookbook, The Big Hurt’s Guide to BBQ and Grilling. I am sharing this with you now, so you will have it for your summer and fall menus. Everyone has a baked bean recipe, but maybe you haven’t tried this one. It is a simple recipe to make, that combines sweet and smoky ingredients for a really nice Southern twist on classic baked beans. This recipe is a “marriage in heaven” with smoked ribs, bbq chicken, and juicy hamburgers.

Here is the recipe link to Bon Appétit, June 2020, Classic BBQ Baked Beans by Frank Thomas from The Big Hurt’s Guide to BBQ and Grilling.

Please Note My Loving Adaptations:

I make this recipe on my stove, rather than on a grill.

This recipe calls for 1/4 pound bacon diced. I usually saute the onion and red pepper in 2 tablespoons of olive oil, instead of using bacon.

This recipe calls for 3 16-ounce can of kidney beans. You could also start with dried beans similar to kidney beans, soak them, cook them until soft, and then begin your recipe. I have done this before. See below for my post on Rancho Gordo Bean Club.

Watch your hot sauce and Creole seasoning amounts. For instance, I use a teaspoon of hot sauce, instead of a tablespoon. If your Creole seasoning is very hot, you might want to use 1 teaspoon, instead of two. The recipe serves 6, but if you are doubling it for a larger gathering, you might not want to necessarily double your hot sauce and Creole seasoning amounts. Start with smaller amounts, and taste, taste, taste.

Creole seasoning can be found in some grocery stores and online. There is a rainbow of hot sauces available in grocery stores, specialty stores, and online too. The best is buying your Creole seasoning and hot sauce when visiting New Orleans!

This recipe should definitely be made a day ahead to allow the heat in the recipe to mellow, the beans to thicken, and all of the other ingredients to meld together. Refrigerate overnight. There is something magical about these beans the next day. Worth the wait!

Related Past Post:

Rancho Gordo Bean Club

Bon Appétit et Bon Weekend…Bonnie

House Vinaigrette Home Run

Missy Robbins and Talia Baiocchi’s 2021 cookbook, Pasta

Okay, I confess. Missy Robbins and Talia Baiocchi’s 2021 cookbook, Pasta, The Spirit and Craft of Italy’s Greatest Food, with Recipes is truly an outstanding cookbook. In fact, listed as one of the top ten cookbooks in 2021. A Christmas gift, and I haven’t really had a chance to read through it or make any recipes yet. Except one, the House Vinaigrette.

I think their House Vinaigrette is outstanding, and the recipe I want to share with you. I make my own salad dressings, and have my favorite vinaigrette which might change slightly with the seasons. Everyone should have their own signature House Vinaigrette, and you probably do. Maybe this one will become your new House Vinaigrette.

I love this vinaigrette because it is a 2:1 oil to acid ratio, and not the usual 3:1 ratio. It has a whooping tablespoon of Dijon mustard, and the garlic is Microplaned to easily blend. I feel this vinaigrette goes well with any type of lettuce you throw at it, it is just that good! Enjoy!


House Vinaigrette

Lovingly Adapted from Missy Robbins and Talia Baiocchi’s Pasta Cookbook

Yields 8 servings

Ingredients:

1 Tablespoon Dijon mustard

1 clove garlic

1/4 cup red wine vinegar

1/2 cup good olive oil

salt and pepper to taste

Directions:

1) Add the mustard to a bowl. Using a Microplane, grate the garlic into the mustard and stir to blend.

2) Add the red wine vinegar to the bowl. While stirring drizzle in the olive oil.

3) Make sure to prepare your dressing ahead, so the garlic has time to bloom.

4) Can be kept in an airtight container and refrigerate for up to 3 days.


If you make this vinaigrette, please let me know what you think!

Bon Appétit et Bon Weekend….Bonnie